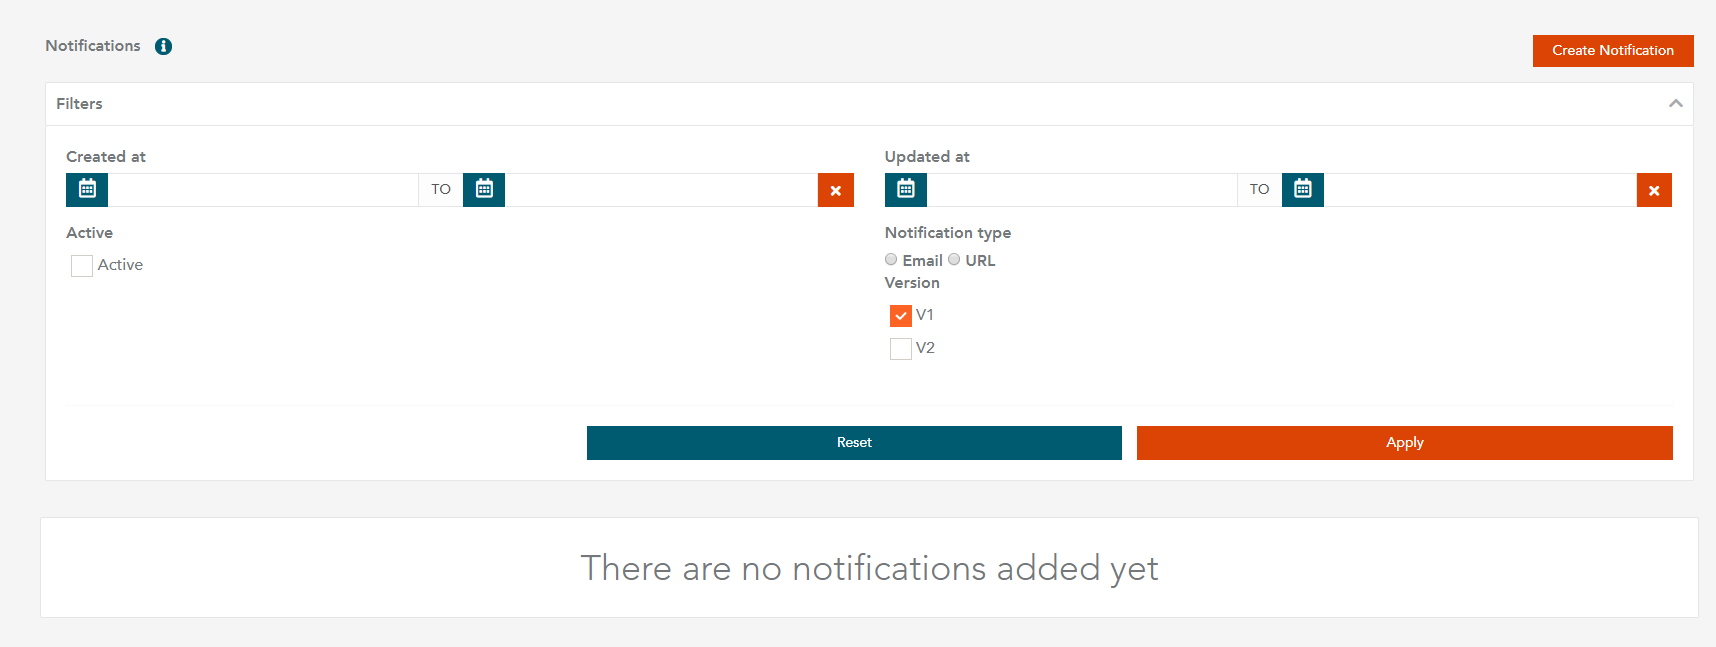
Notifications
The notification service introduces a version flag. There are two types of notifications - V1 and V2. There is also an option for you to switch between V1 and V2 notifications and create a new notification as V1.
Notification Service Management
Access to the Notifications Section
You can manage notifications via the Notifications section on the Merchant Center homepage.
Create a new Notification
- To create a new notification via Merchant Center, click on the Create Notification icon in the top right corner.
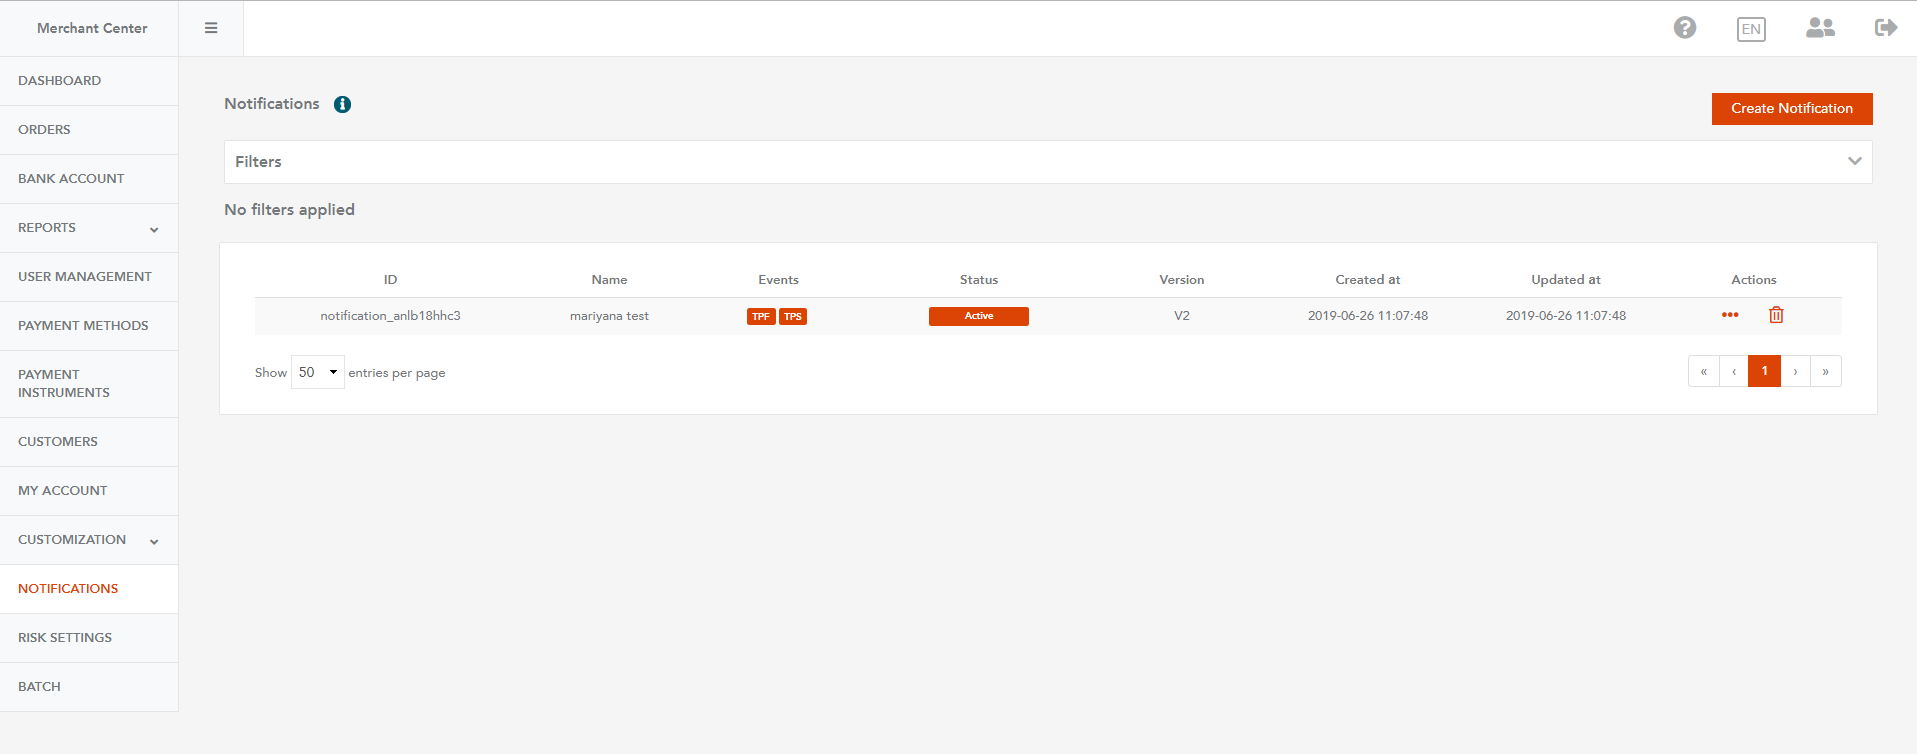
- A new window that contains all notification parameters opens.
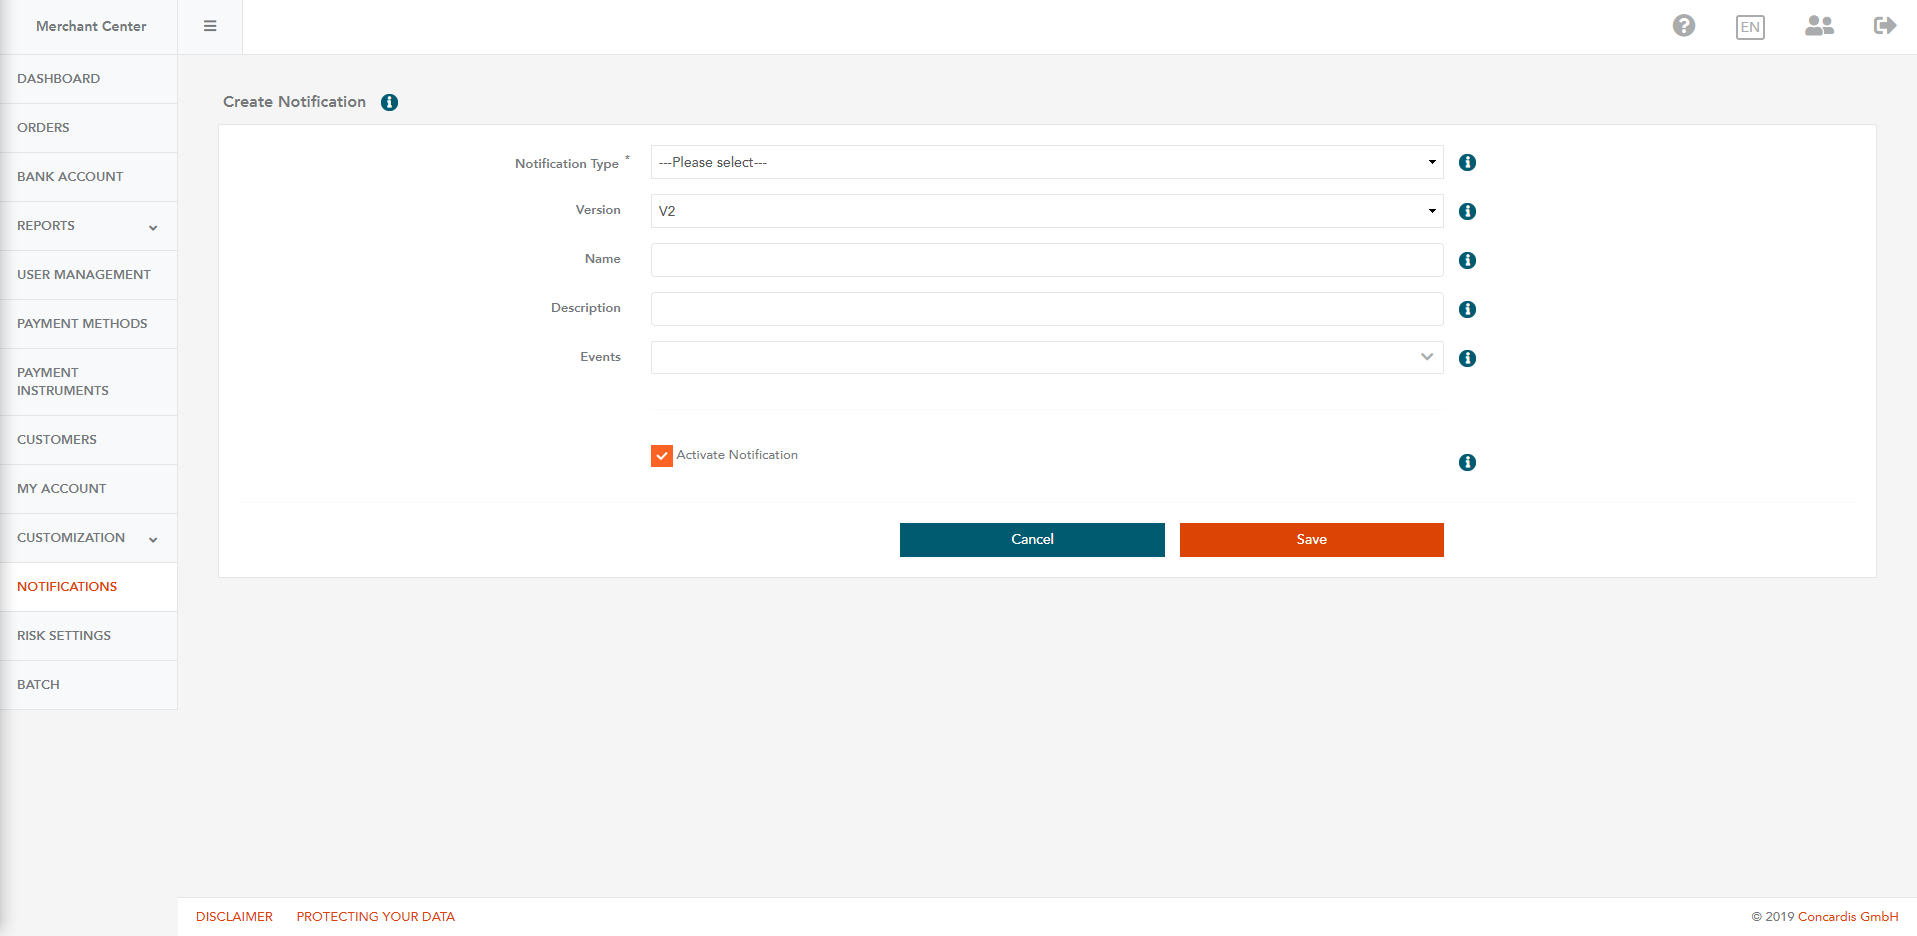
- Select a notification type option:
3.1 Notification Type: Email is used for receiving notifications via email.
3.1.1 Select Email from the drop-down Notification Type, and in the Email field, fill in the email address for receiving notifications.
Note: You can provide optional information in the Name and Description fields. The information described in these fields may serve as reference to the merchant in case the received notifcations must be recognized.
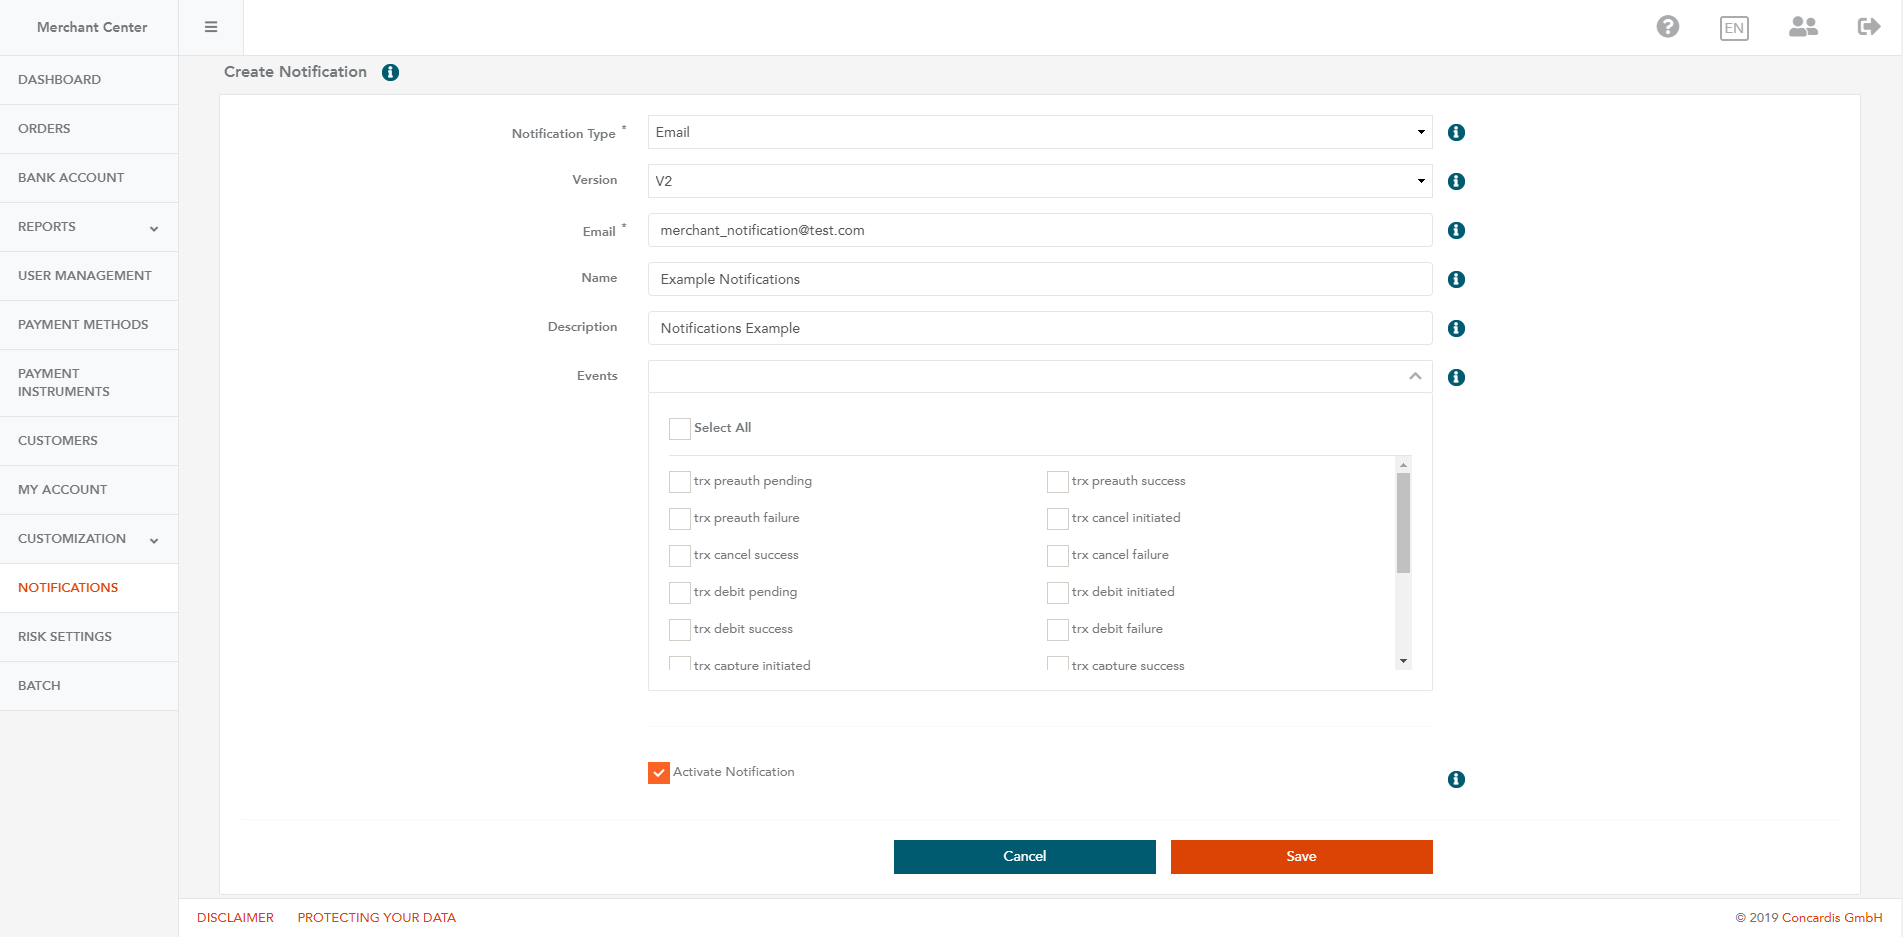
3.1.2 From the Events section, select one or more events by checking the box(es) next to the desired event(s).
Note: To select all events, check the Select All box.
Note: When creating a notification, the Activate notification box is checked by default. Uncheck the Activate notification box to create an inactive notification.
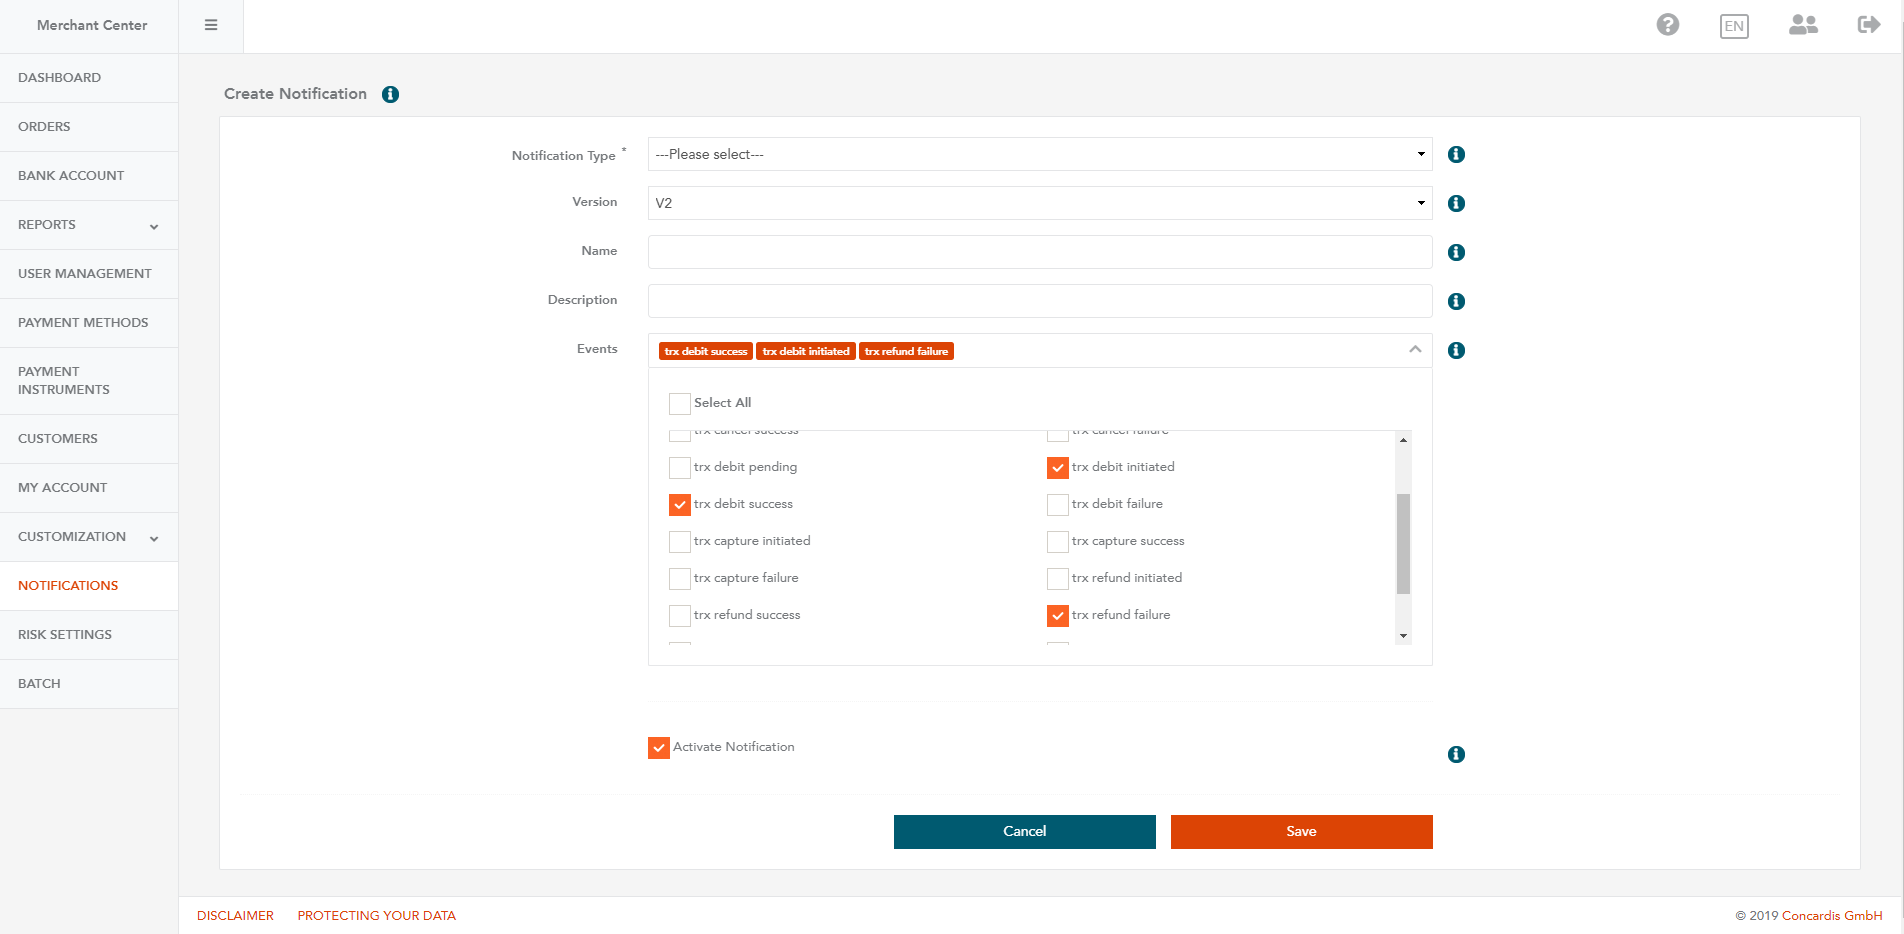
2.1.3 Click Save to validate your changes.
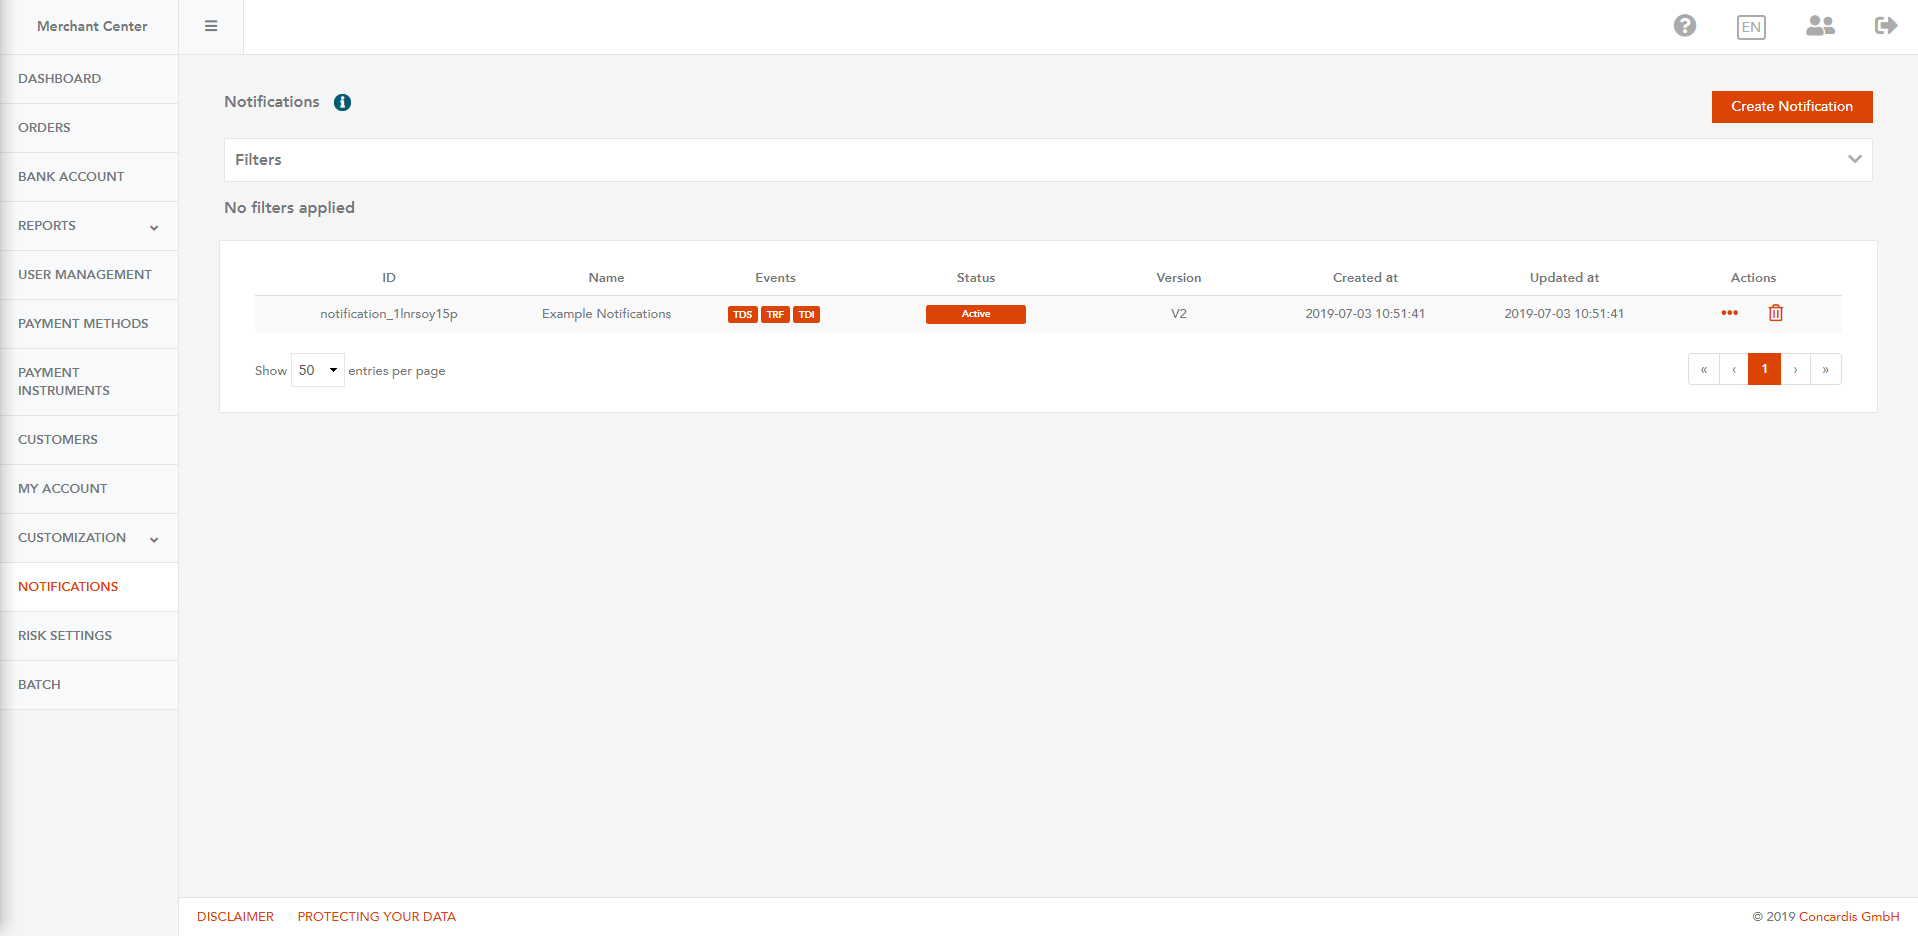
2.1.4 The new notification is displayed in the notification list.
2.2 You can use Notification Type: URL for receiving notifications that deliver event information to your system by calling a script hosted on the server.
Notification Actions
Reviewing Notification Details
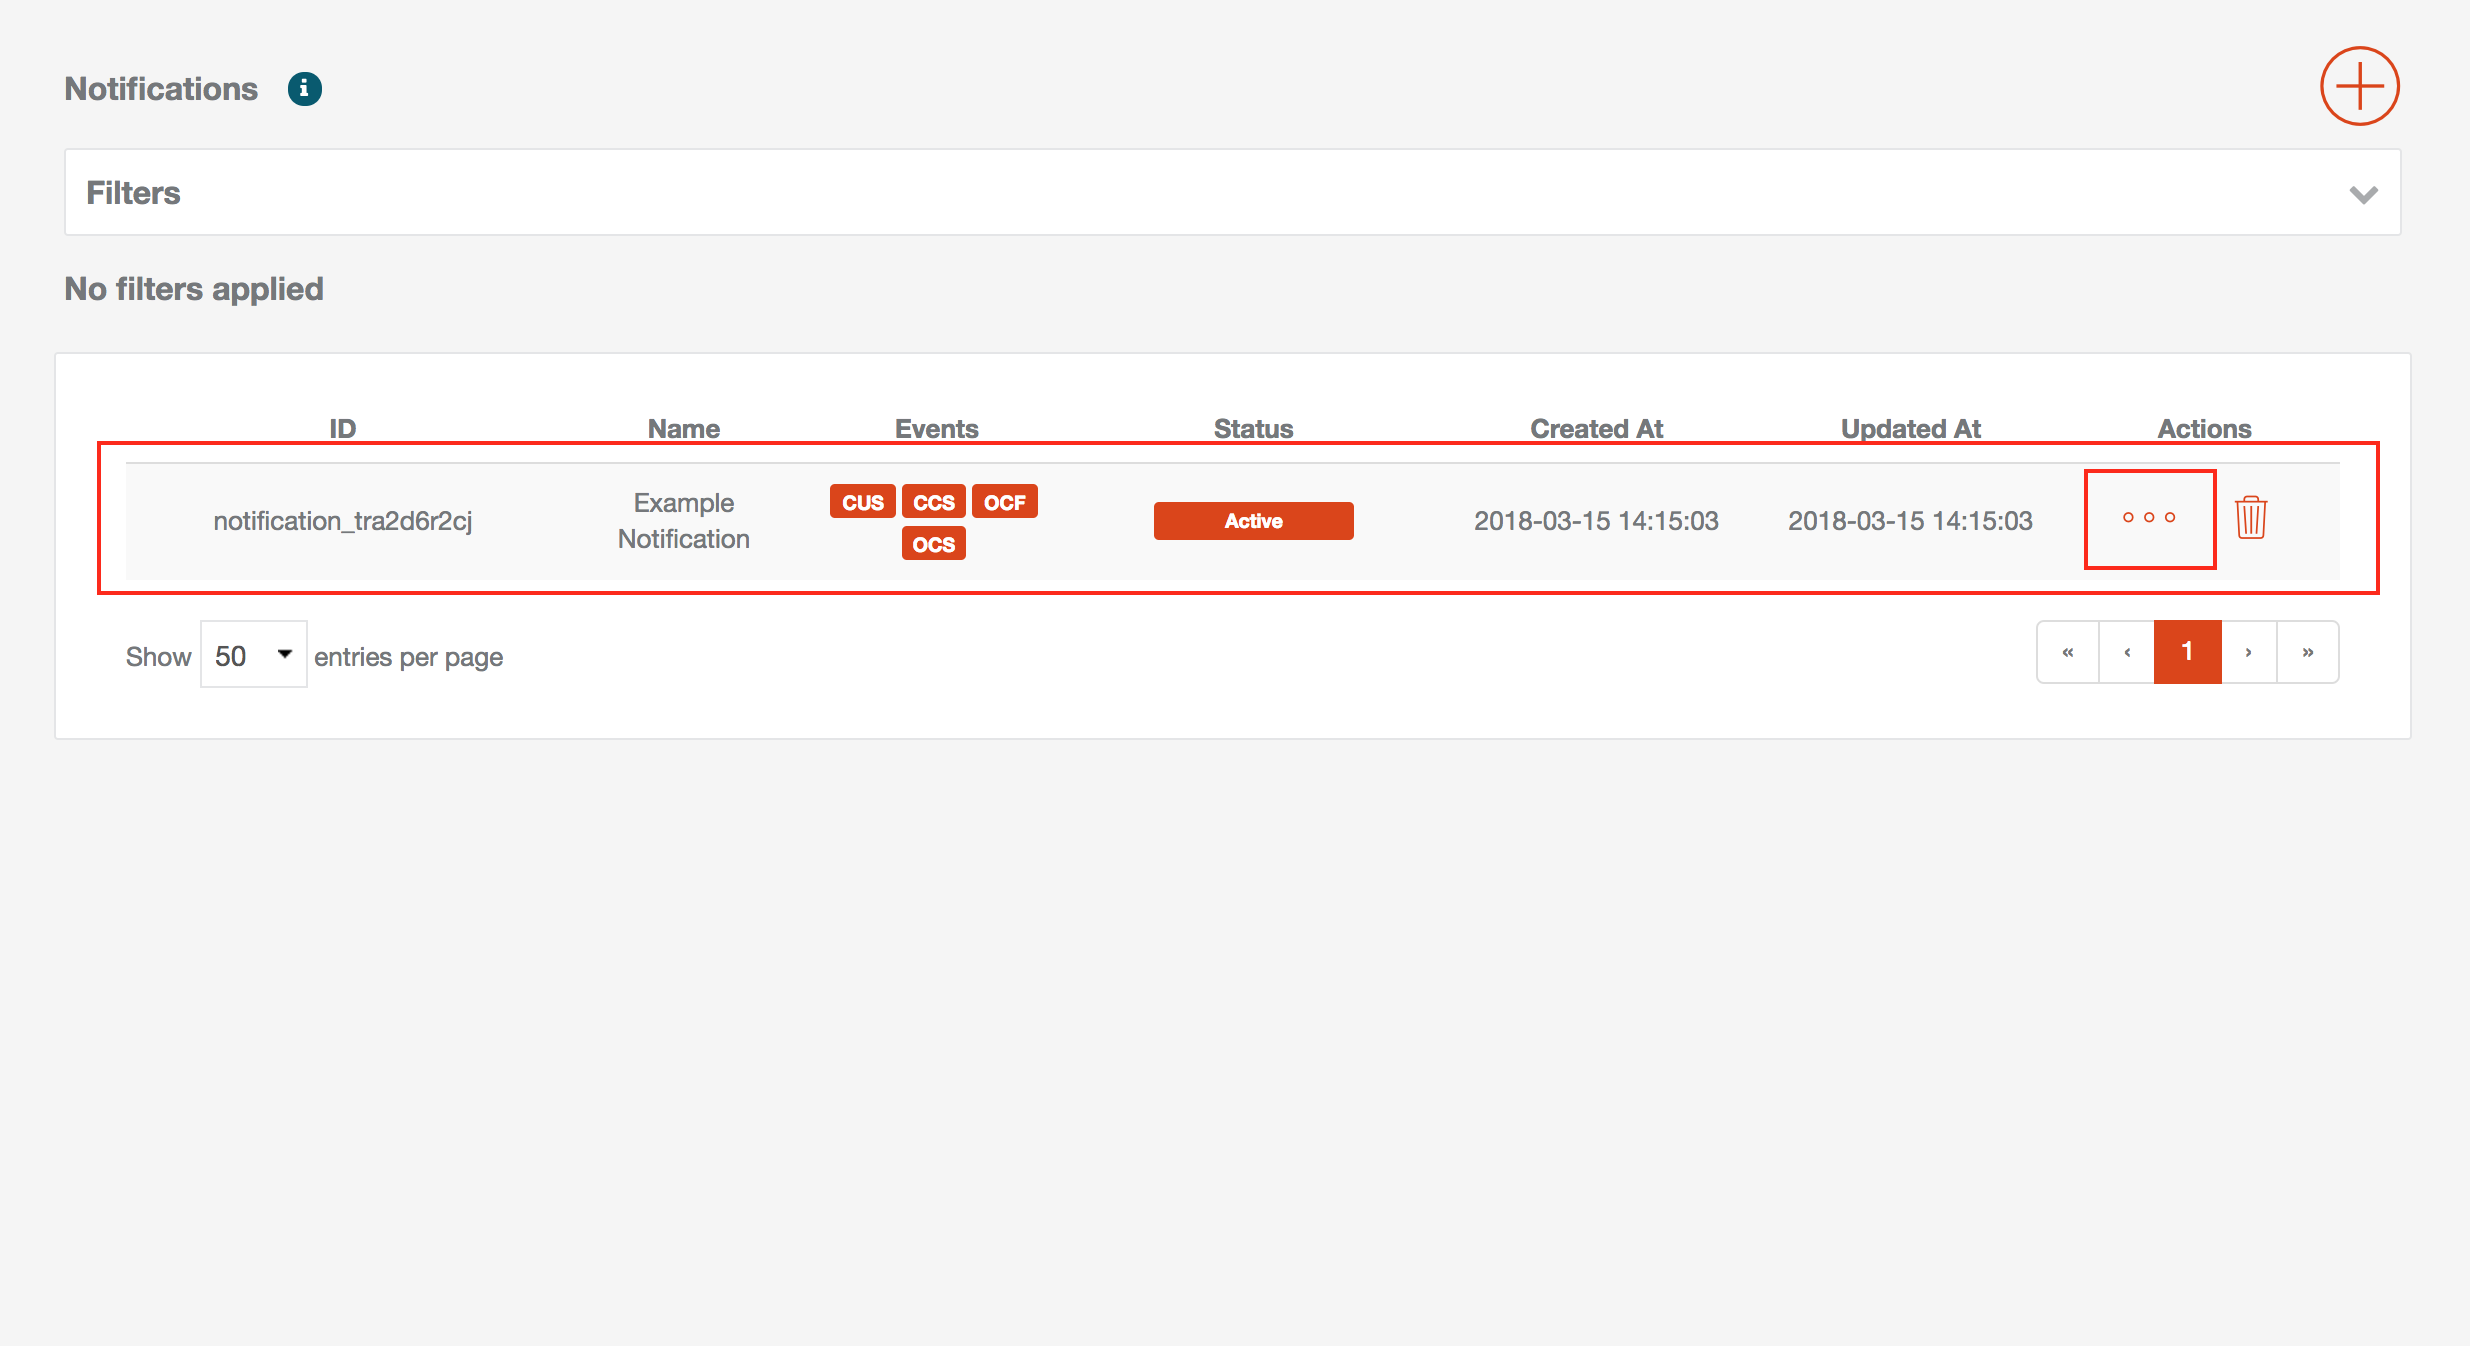
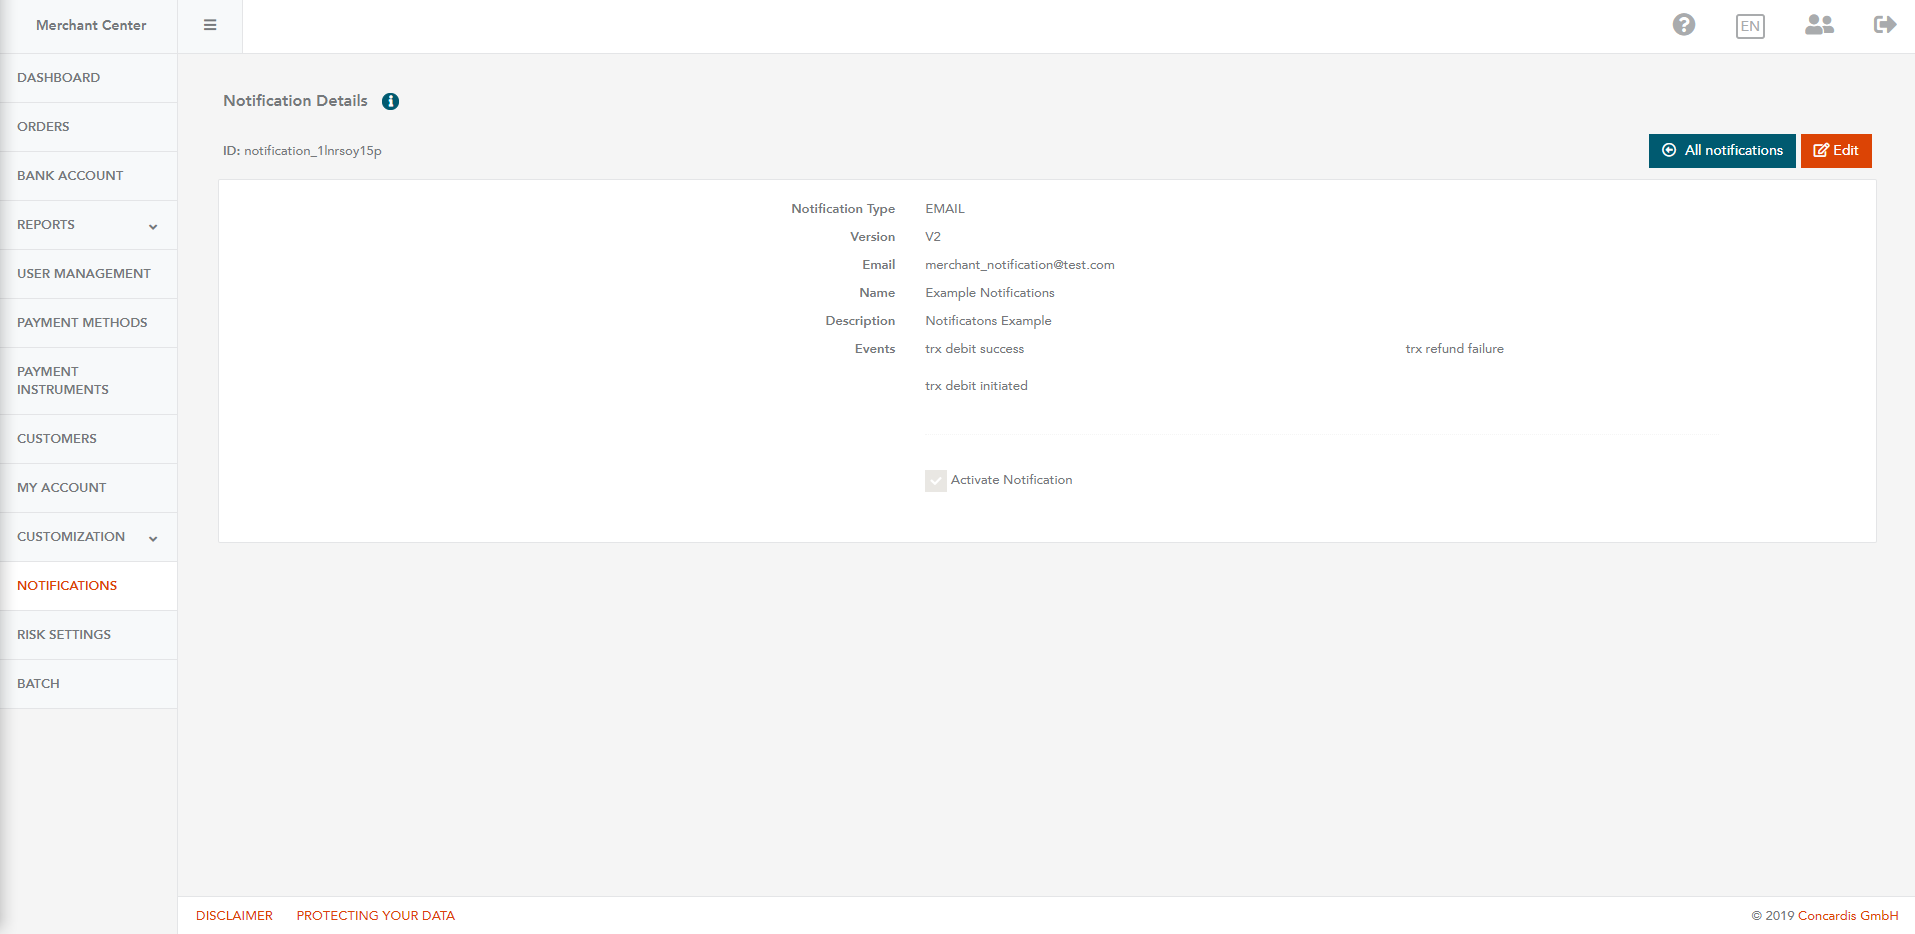
- Click the ellipsis icon in the Actions column to review the details for a notification.
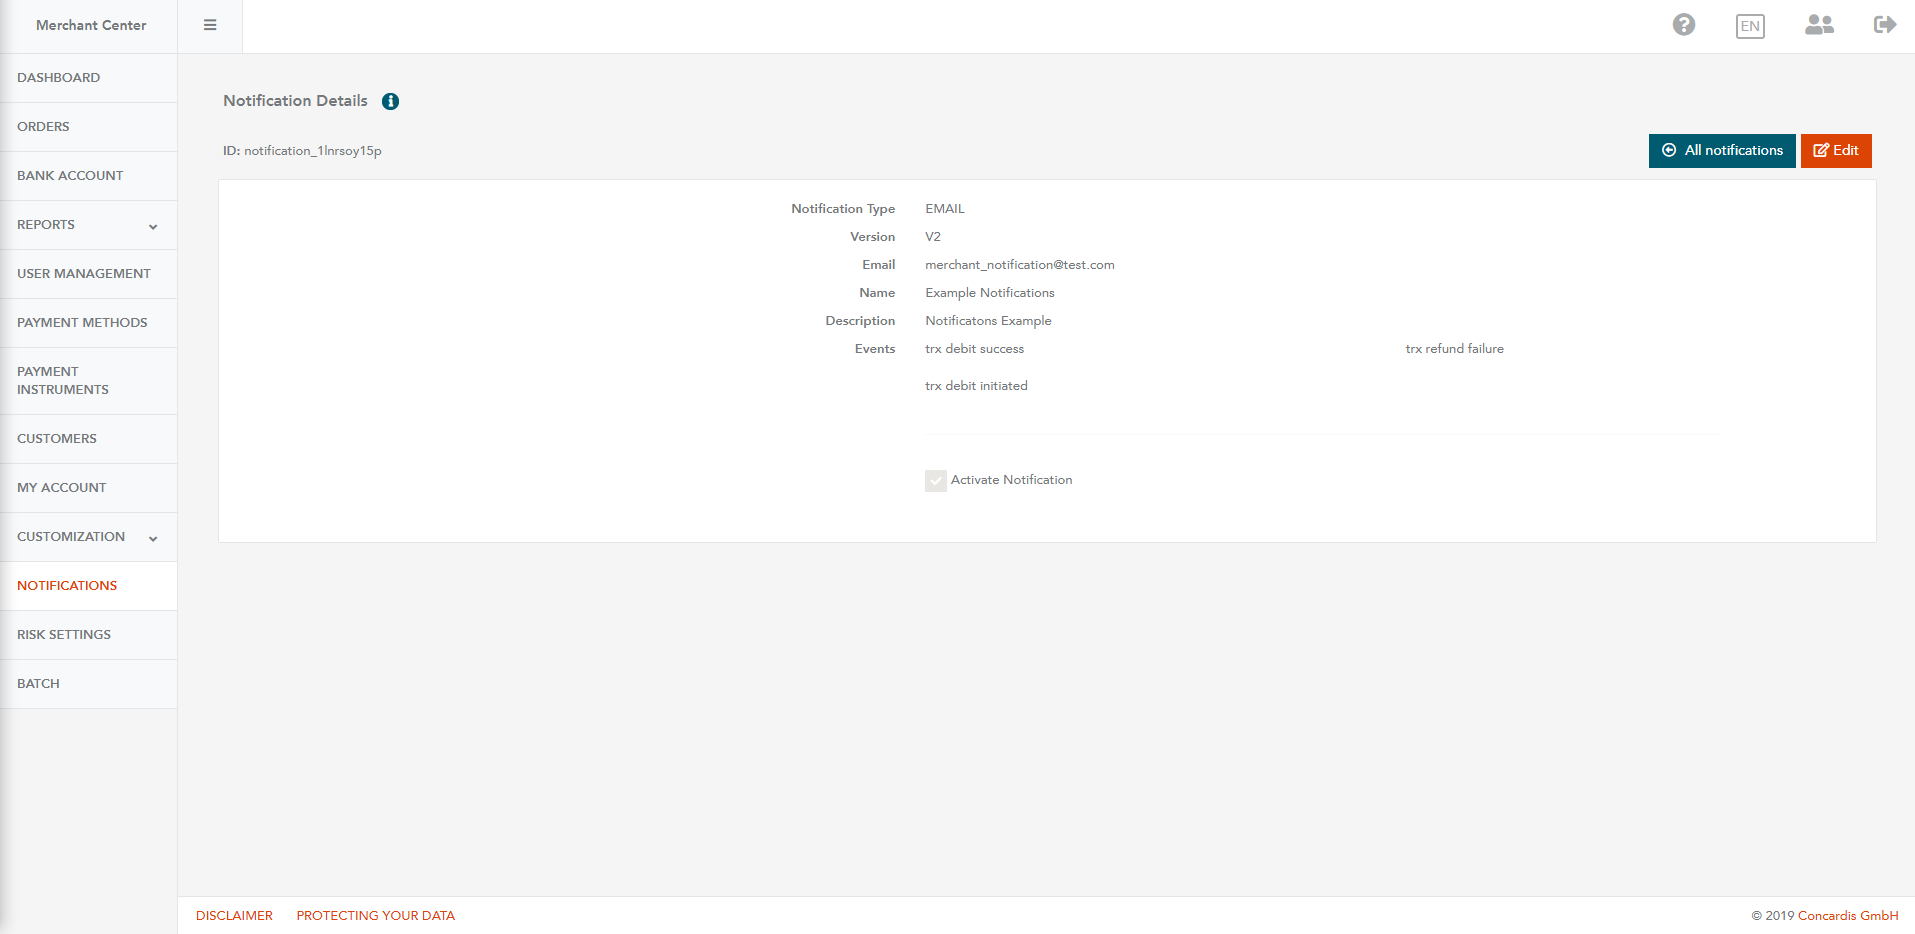
- A new window opens which shows all details for a selected notification.
Editing Notifications
You can edit notifications using the Edit button in the window that contains details for a selected notification.
- To edit notification details, click the Edit button.
- Click Save to apply all changes.
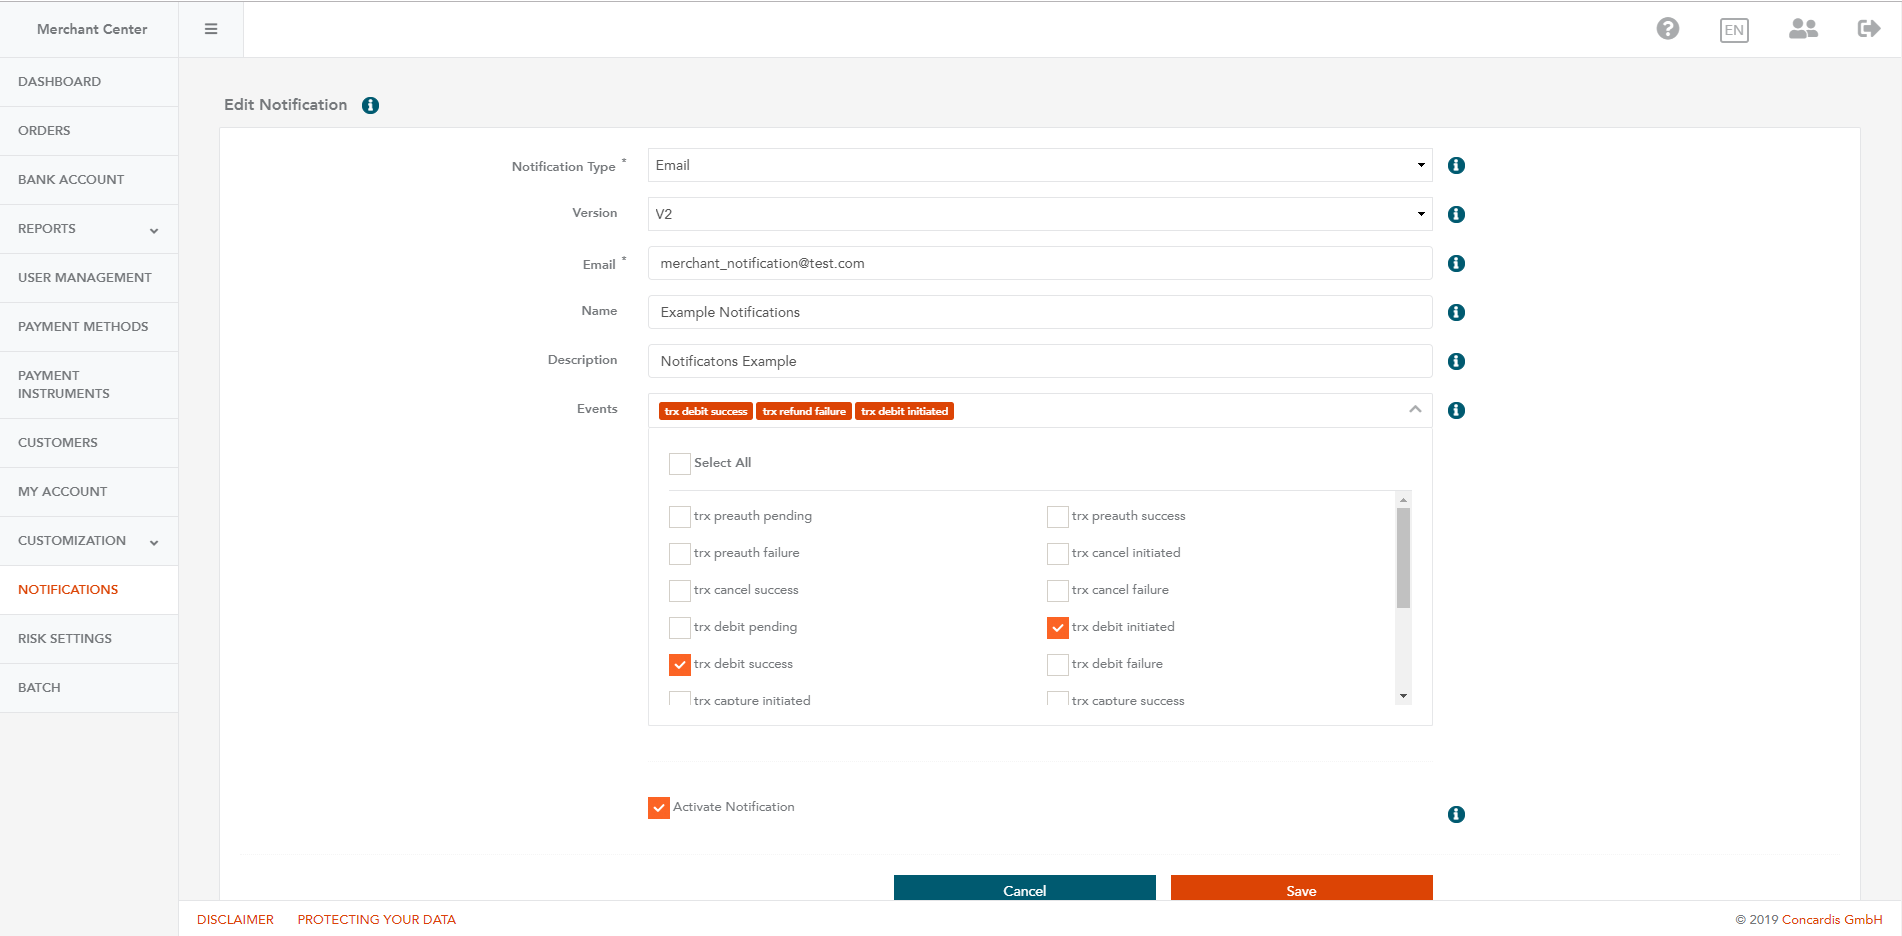
Editing the Notification Information and the Notification Events Subscription
You can change or edit the information of an existing notification, for example an email address, a URL. You can modify your subscription for an existing events notification from the Events section. You can change the active status of a notification by checking or unchecking the Activate Notification field. Note: Email or URL are mandatory fields, and Name and Description fields are optional.
To change the notification type to Email:
- Click Edit, and provide a valid email address in the Email field.
- Select all events for which you want to receive notifications.
- To activate the notification, check the Activate Notification box.
- Click Save to apply all changes.
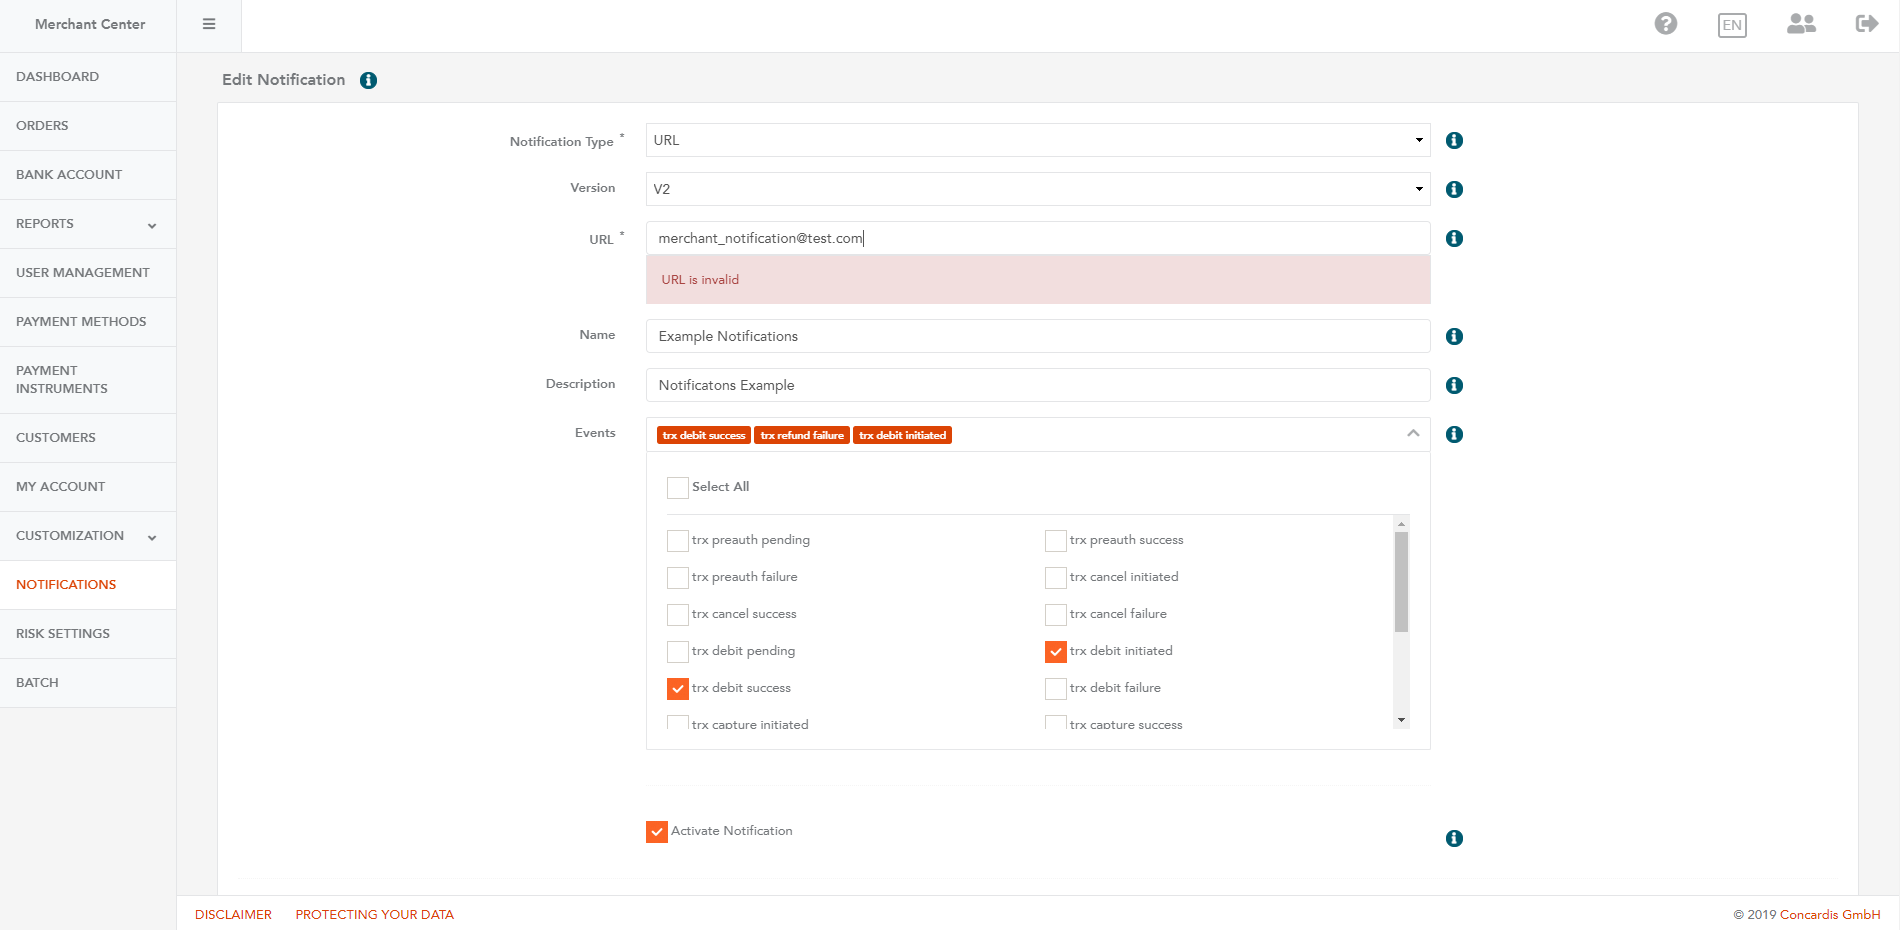
To change the notification type to URL:
- Click Edit, and provide a valid URL in the URL field.
- Select all events for which you want to receive notifications.
- To activate the notification, check the Activate Notification box.
- Click Save to apply all changes.
Deleting Notifications
-
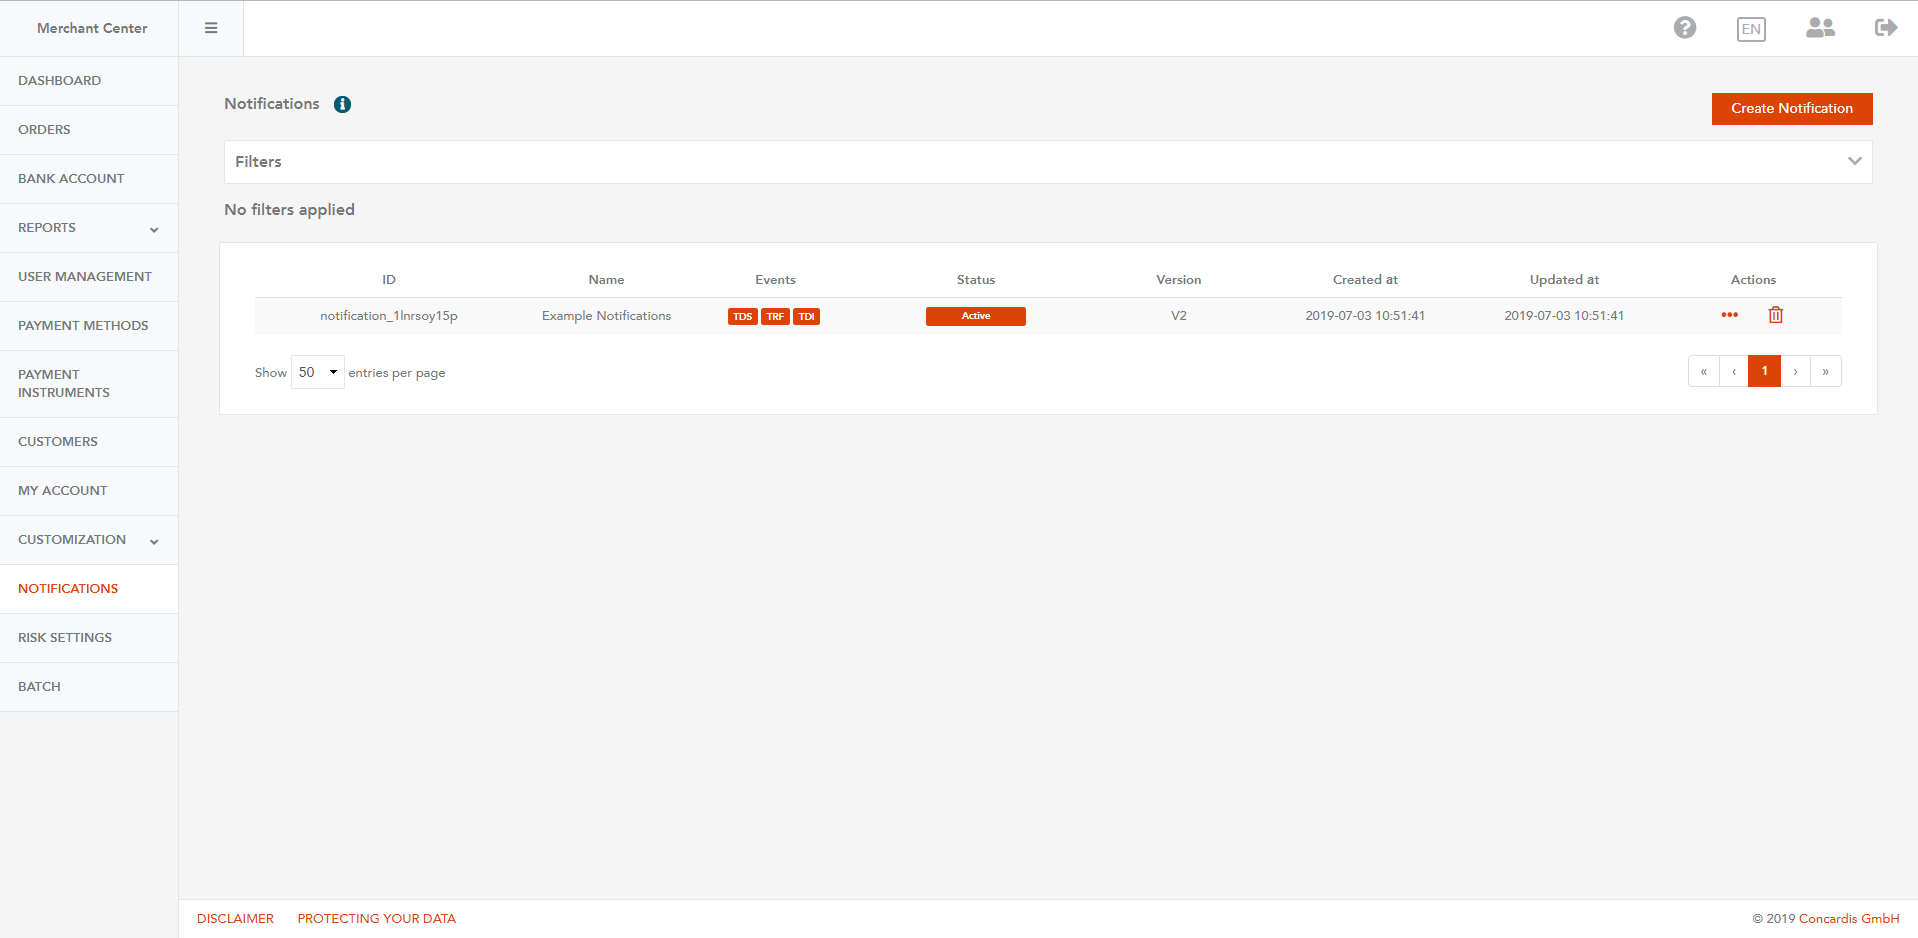
To delete a notification from the notifications list, click the bin icon in the Actions column.
-
Confirm your choice to delete the selected notification from the notifications list.
Filtering the Notifications List
You can narrow down the list of notifications by applying filters, based on various criteria, including creation date, update date, active status and type of notification.
Filtering Notifications by Creation Date
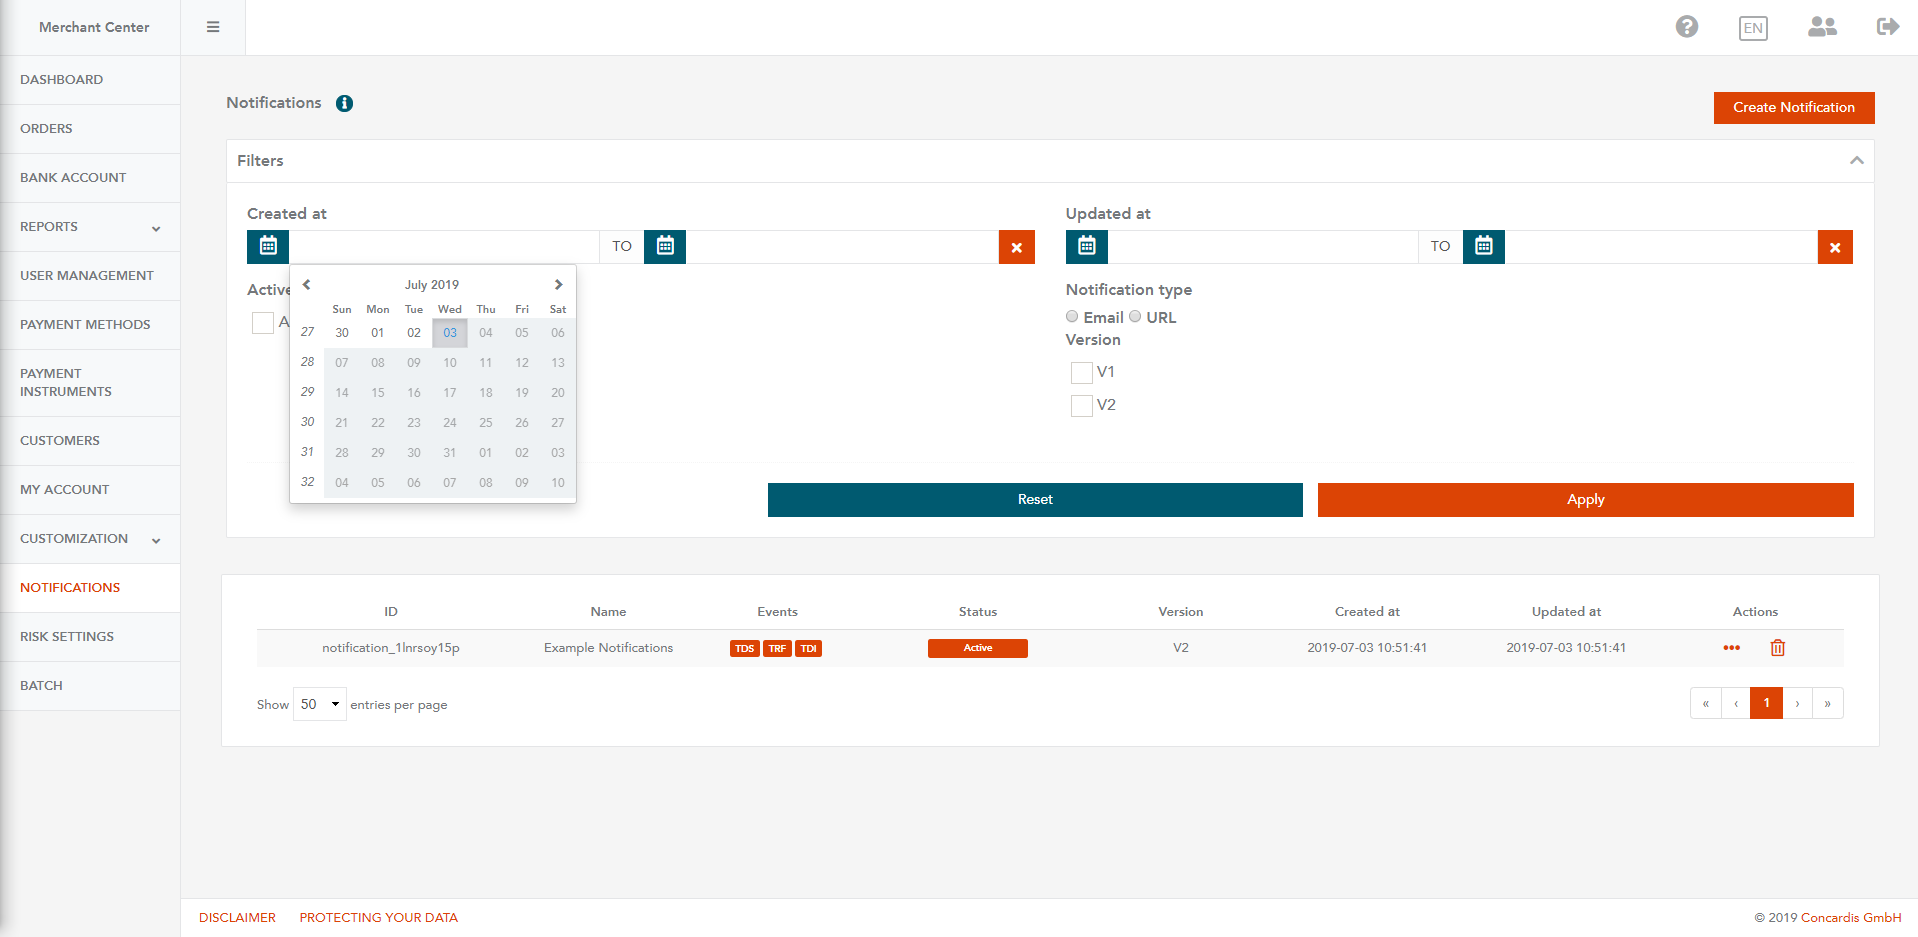
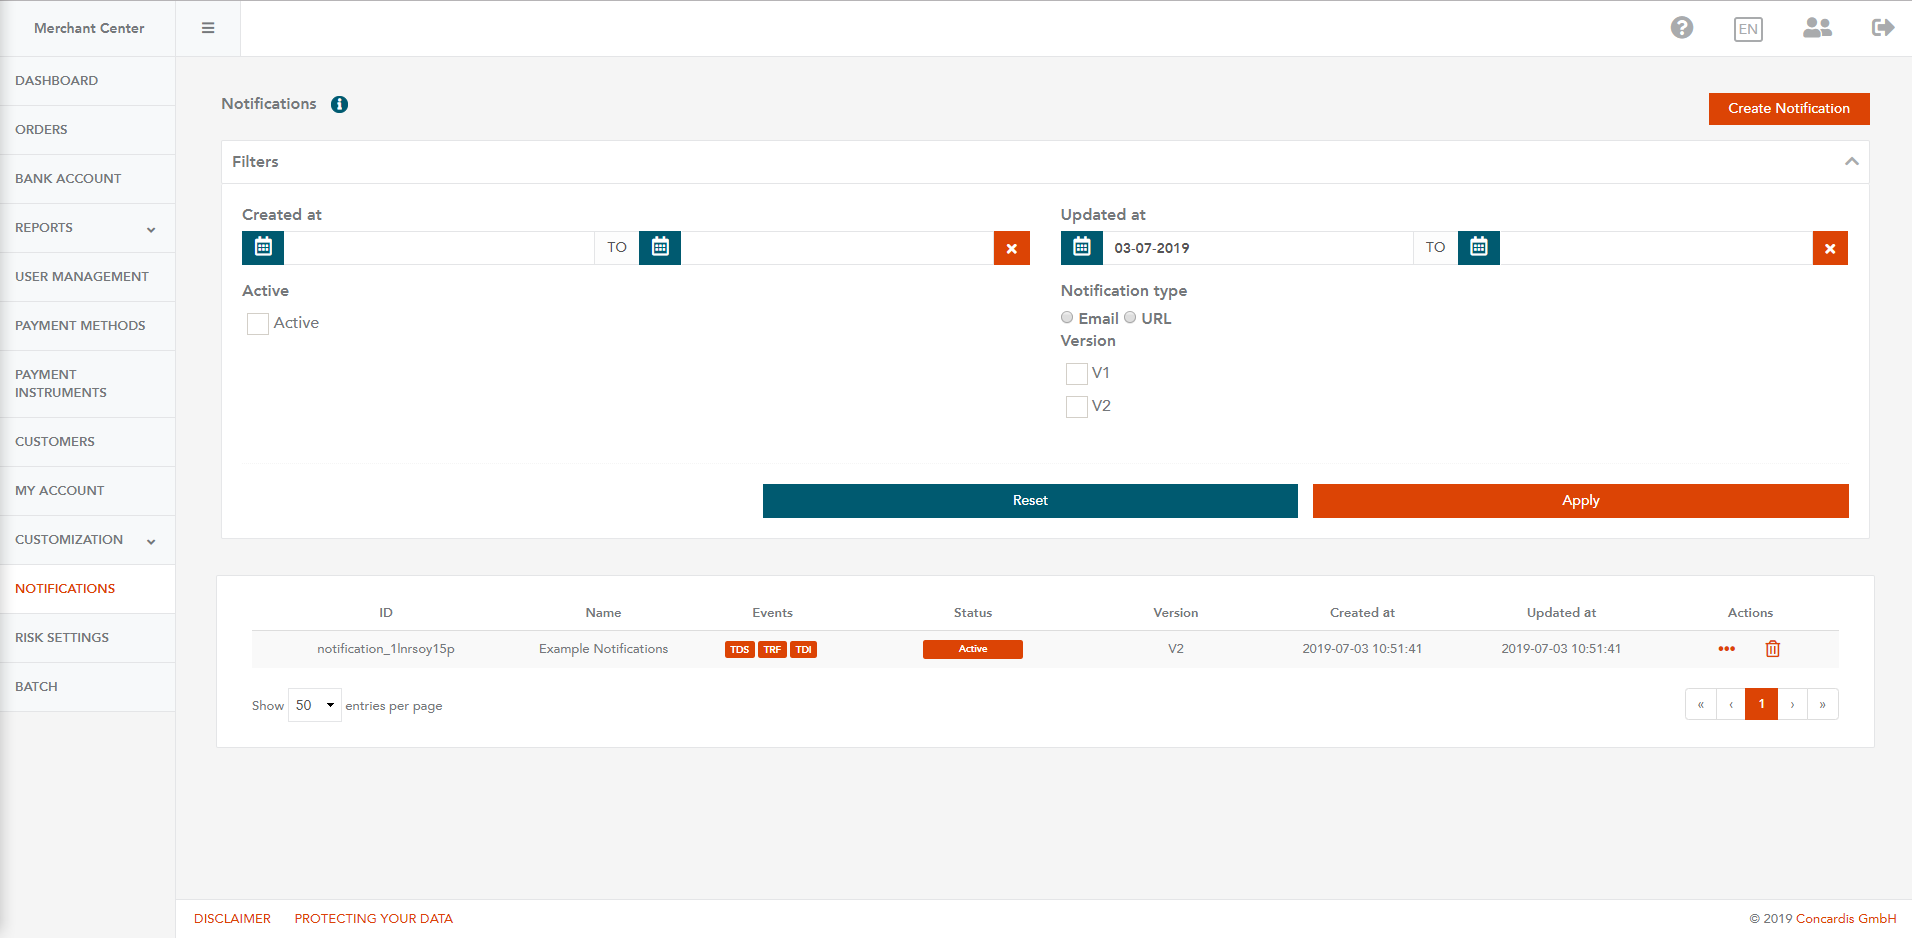
- To extend the notifications filtering options and make all filters visible, click on the Filters drop-down.
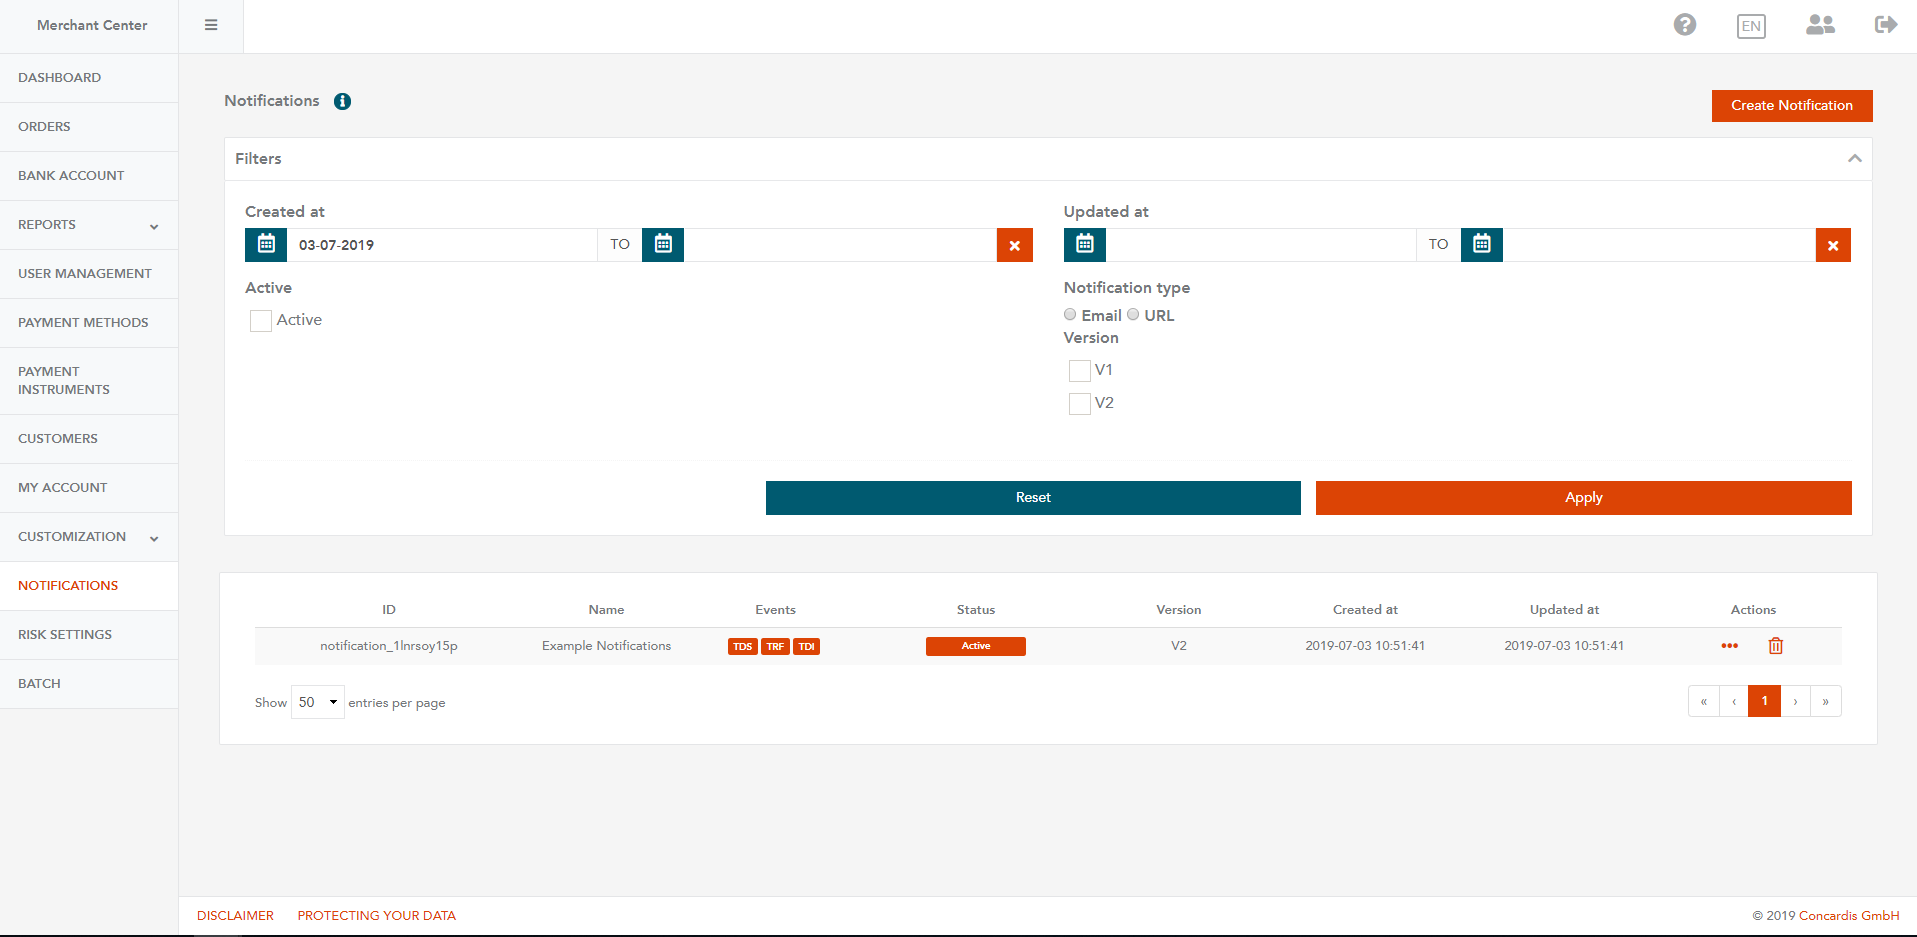
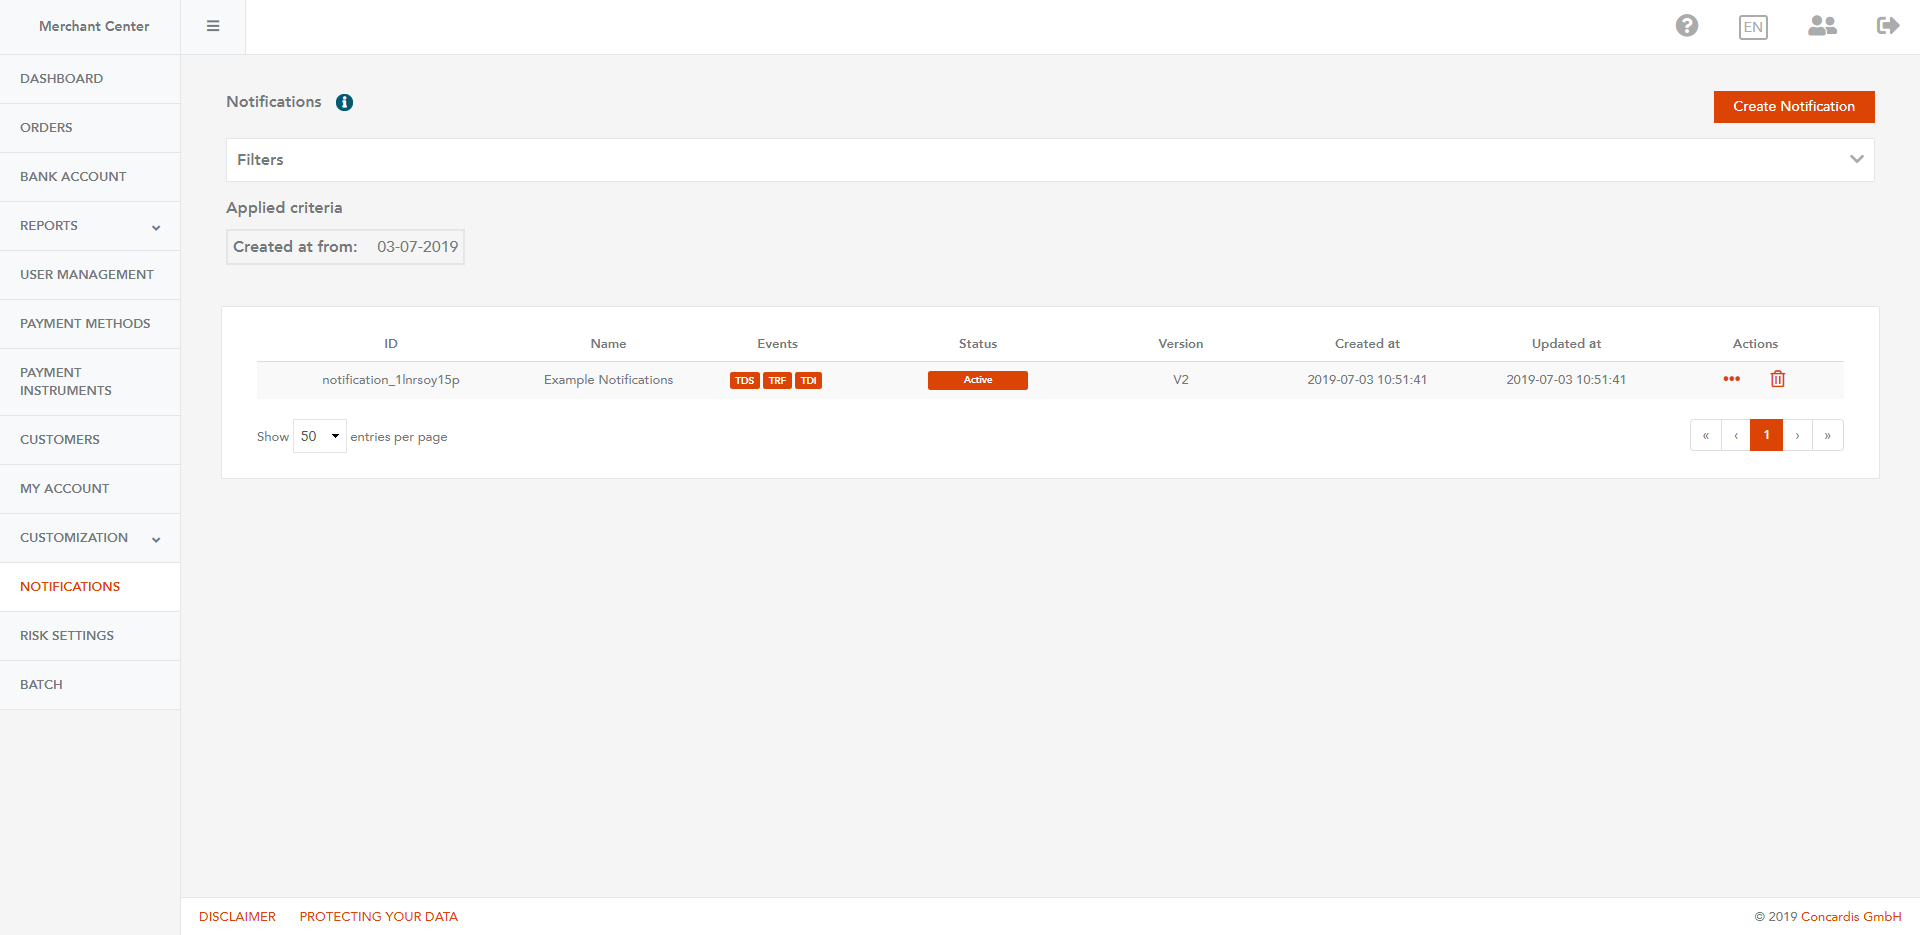
- Click on the calendar icon, choose a date form the Created at filter, and click Apply.
Note: If you specify only the Created at date, you will get a list of notifications which will include only the notifications, created from the specified Created at date to the current date.
Note: If you specify only the TO date, you will get a list of notifications which will include only the notifications, created from the beginning to the specified TO date.
Note: If you specify both, the Created at and the TO date, you will get a list of notifications which will include only the notifications, created from the specified Created at to the specified TO date.
Note: To remove a selected Created at or TO date, click the icon in the TO date field.
Filtering Notifications by Update Date
-
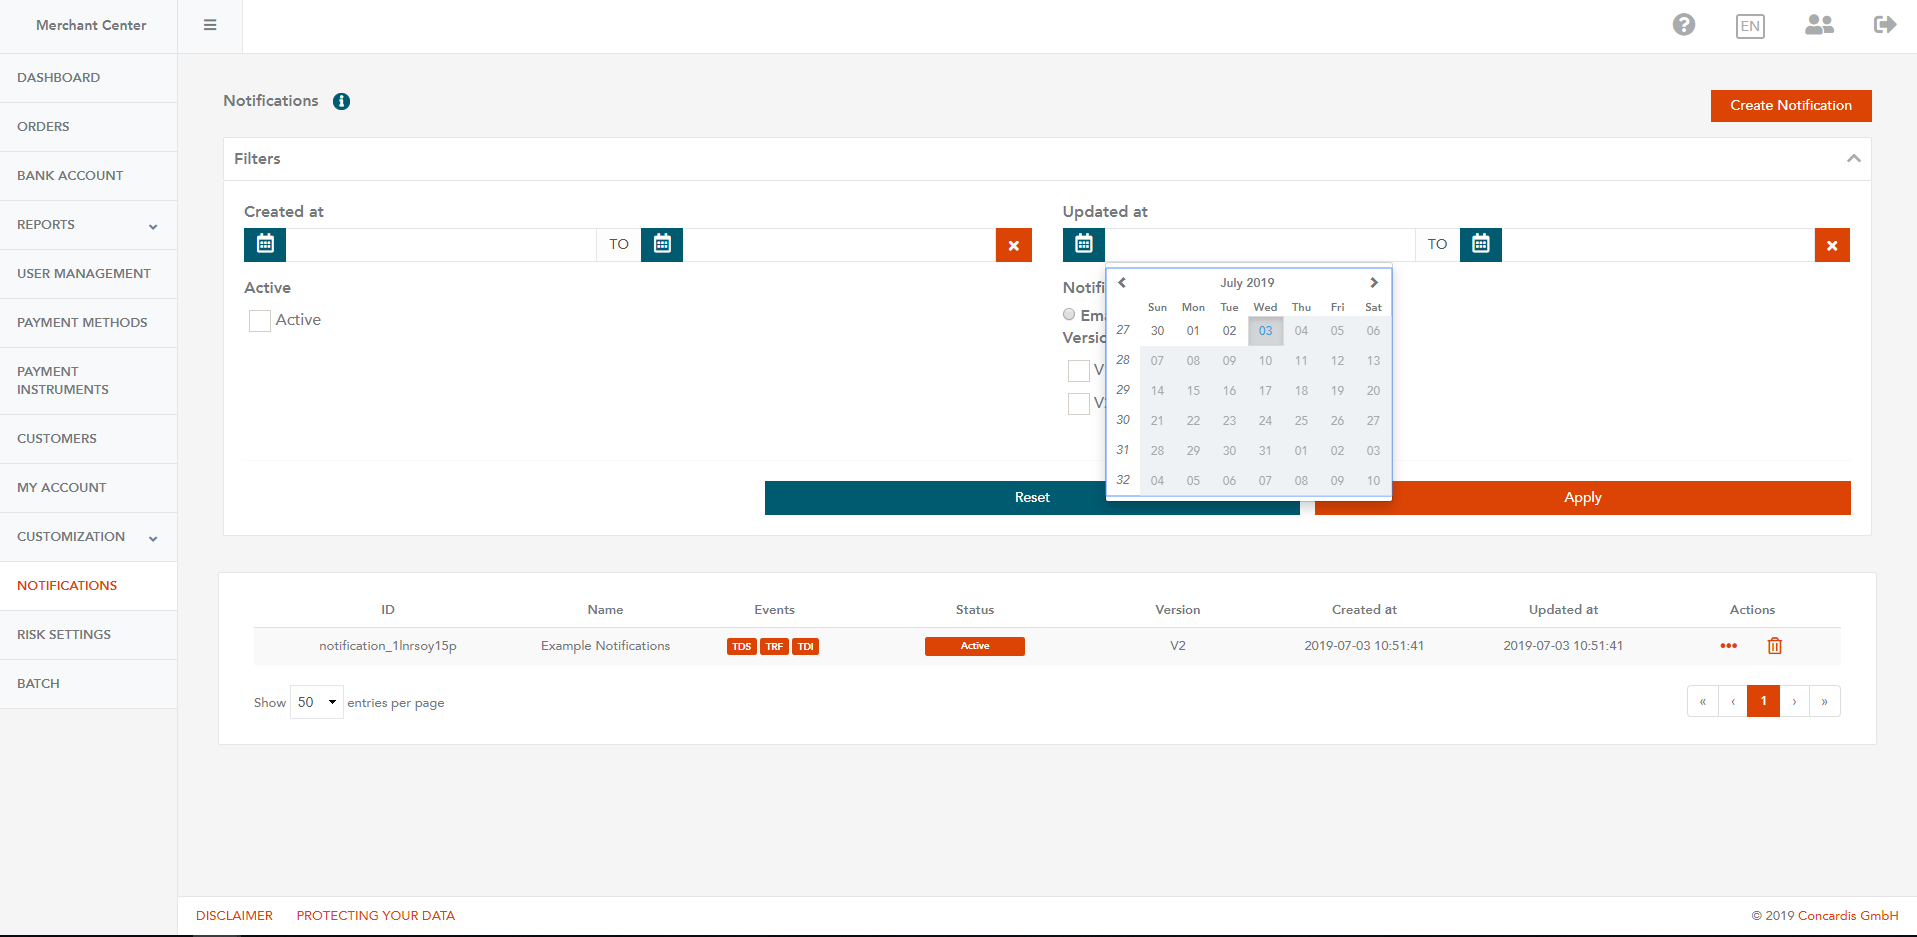
To extend the notifications filtering options and make all filters visible, click on the Filters drop-down.
-
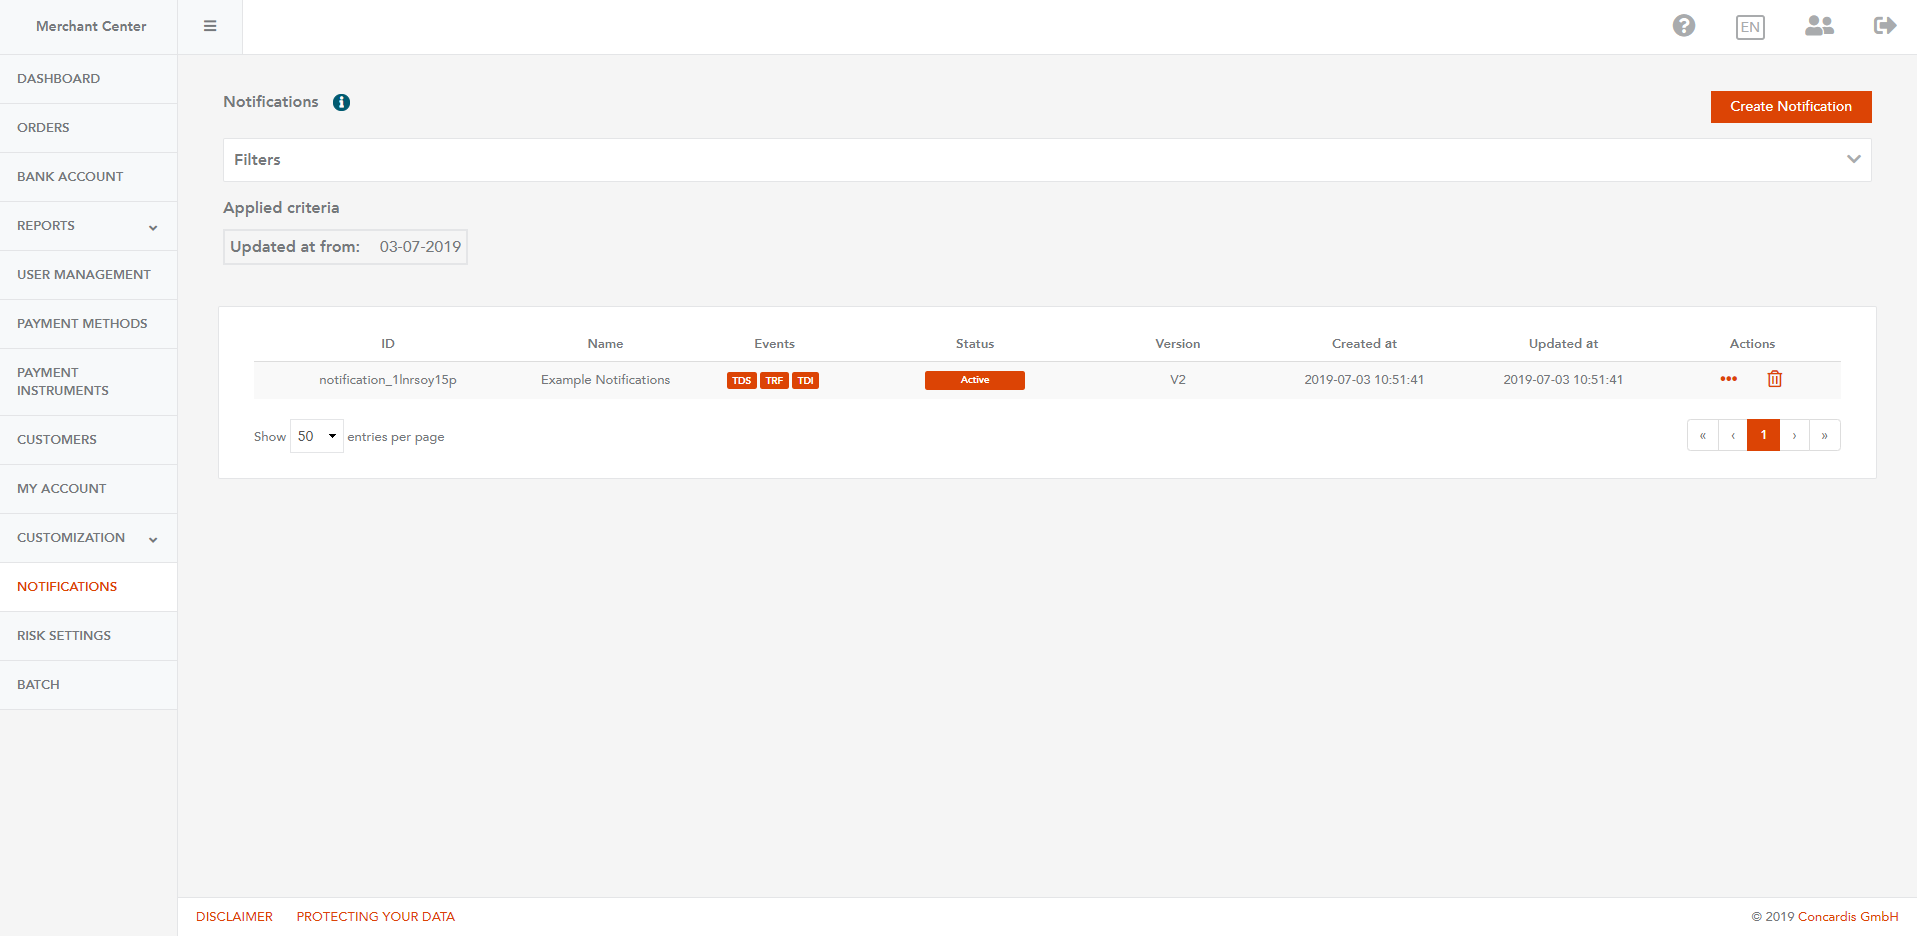
Click on the calendar icon, choose a date form the Updated at filter, and click Apply.
Note: If you specify only the Updated at date, you will get a list of notifications which will include only the notifications, created from the specified Updated at date to the current date.
Note: If you specify only the TO date, you will get a list of notifications which will include only the notifications, created from the beginning to the specified TO date.
Note: If you specify both, the Updated at and the TO date, you will get a list of notifications which will include only the notifications, created from the specified Updated at to the specified TO date.
Note: To remove a selected Updated at or TO date, click the icon in the TO date field.
Filtering Notifications by Active Status
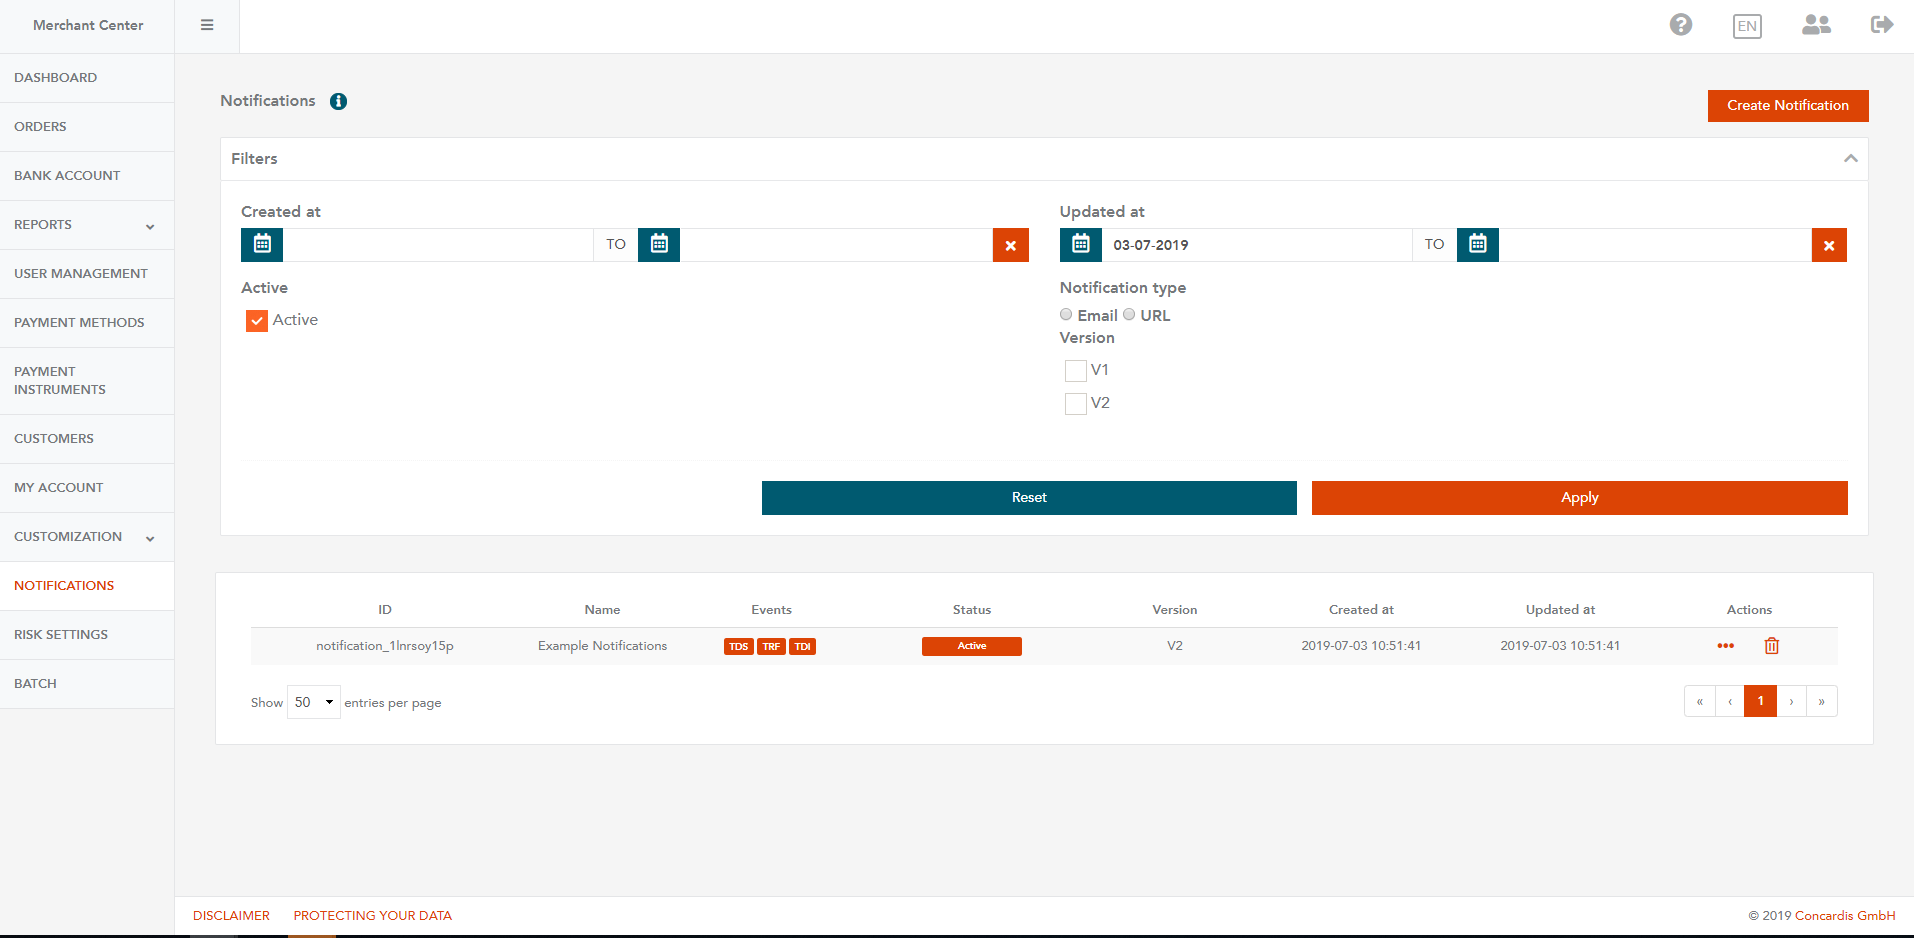
You can filter notifications with an Active status.
Check the Active box in the Filters section. Click Apply to view all active status notifications.
Filtering Notifications by Notification Type
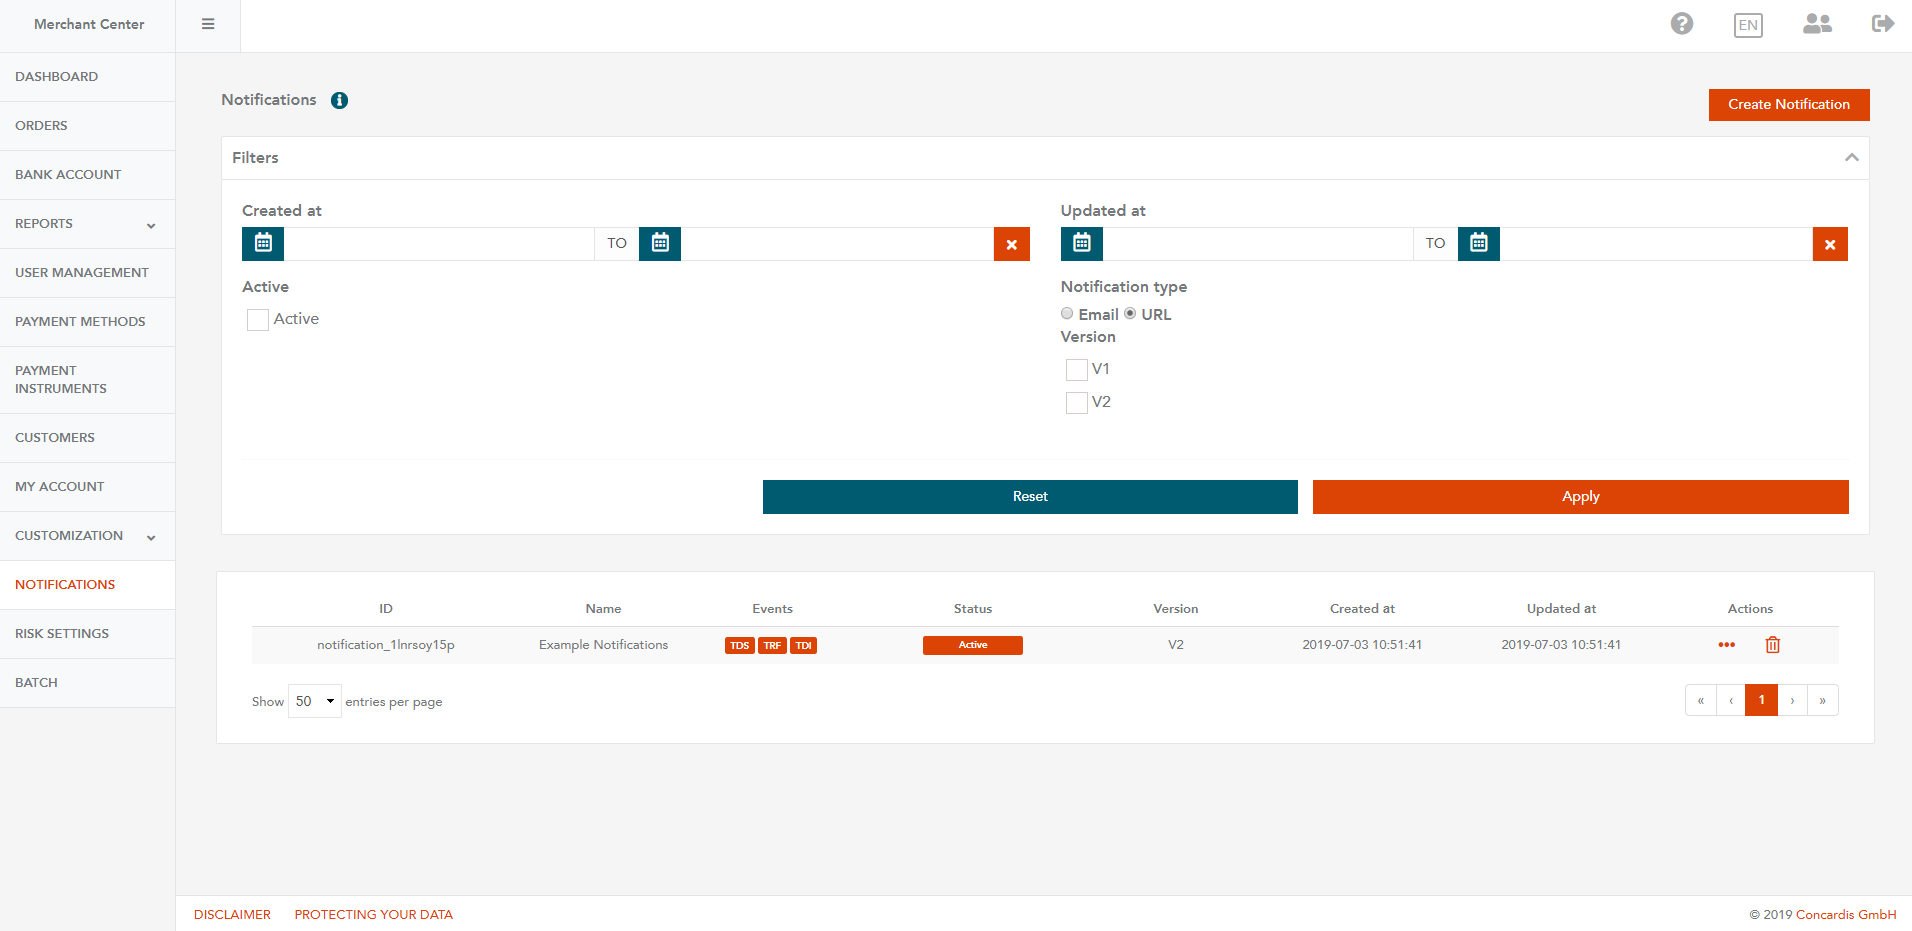
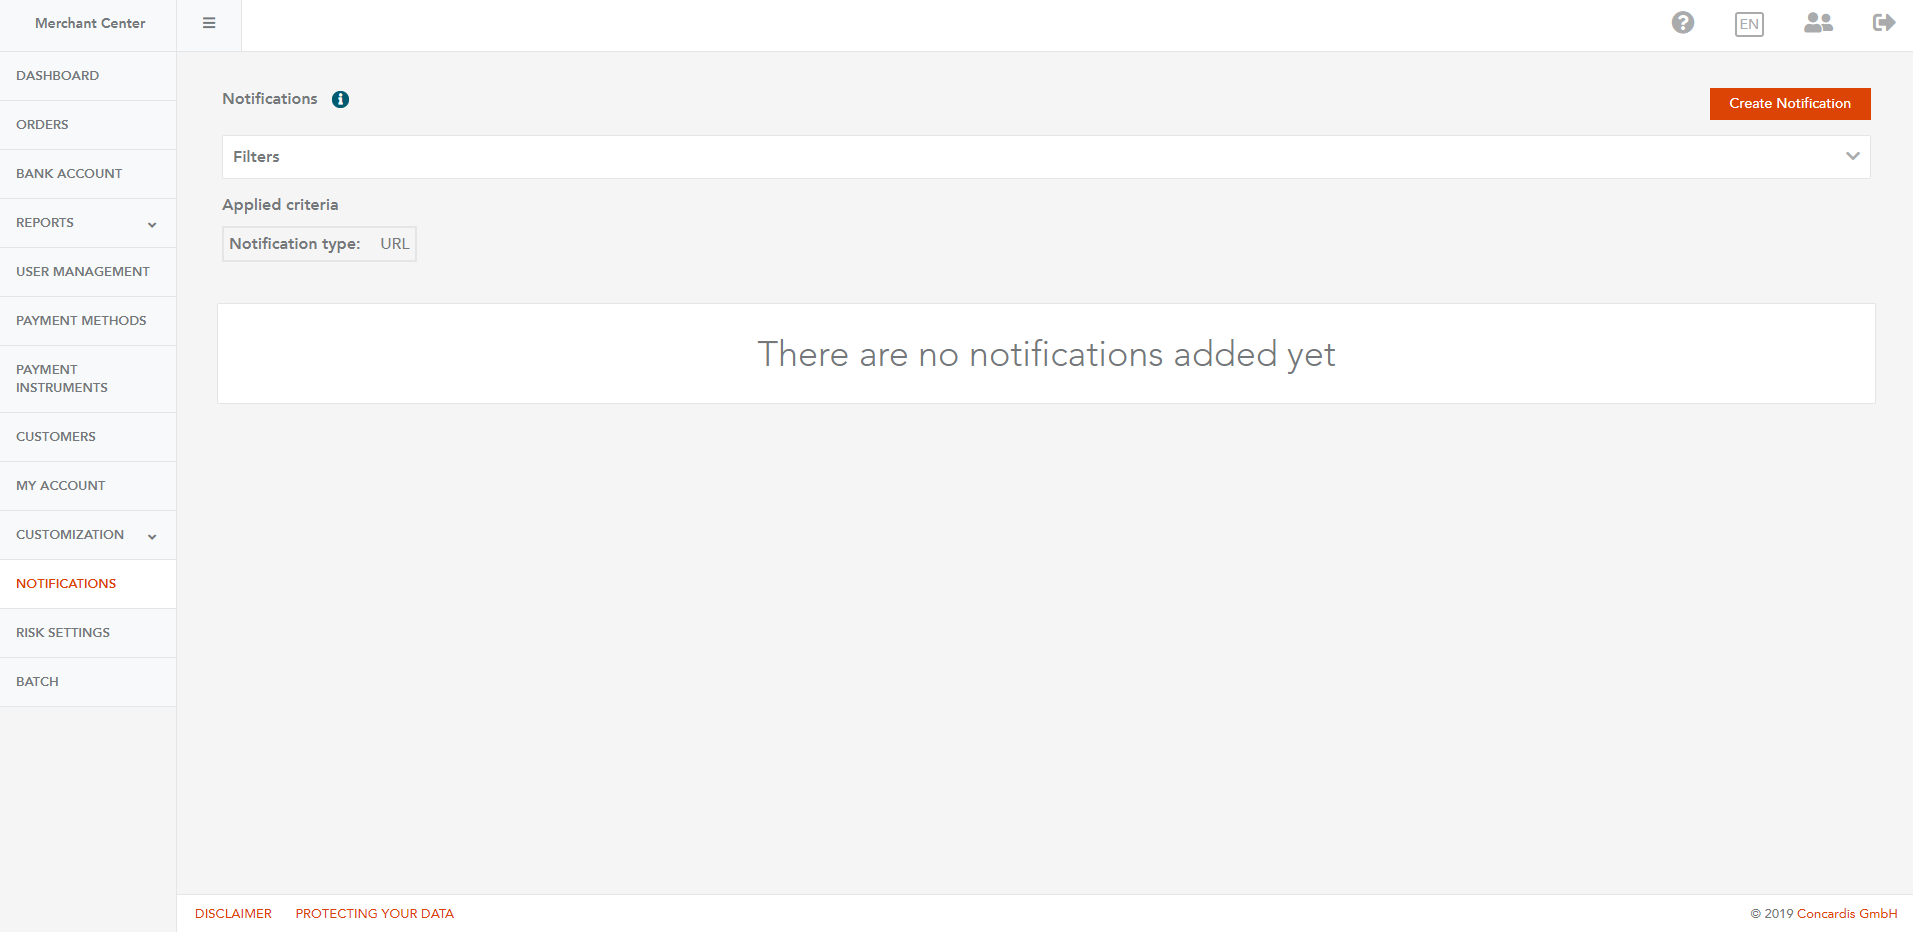
You can filter notifications by URL notification type.
- Check the URL box in the Notification type section.
- Click Apply to view all Notification type: URL notifications.
You can filter notifications by Email notification type.
- Check the Email box in the Notification type section.
- Click Apply to view all Notification type: Email notifications.
Filtering Notifications by Version
You can filter notifications by Version (V1/V2).
- Check the V1 or V2 box under Version.
- Click Apply to view all V1 or V2 notifications.
